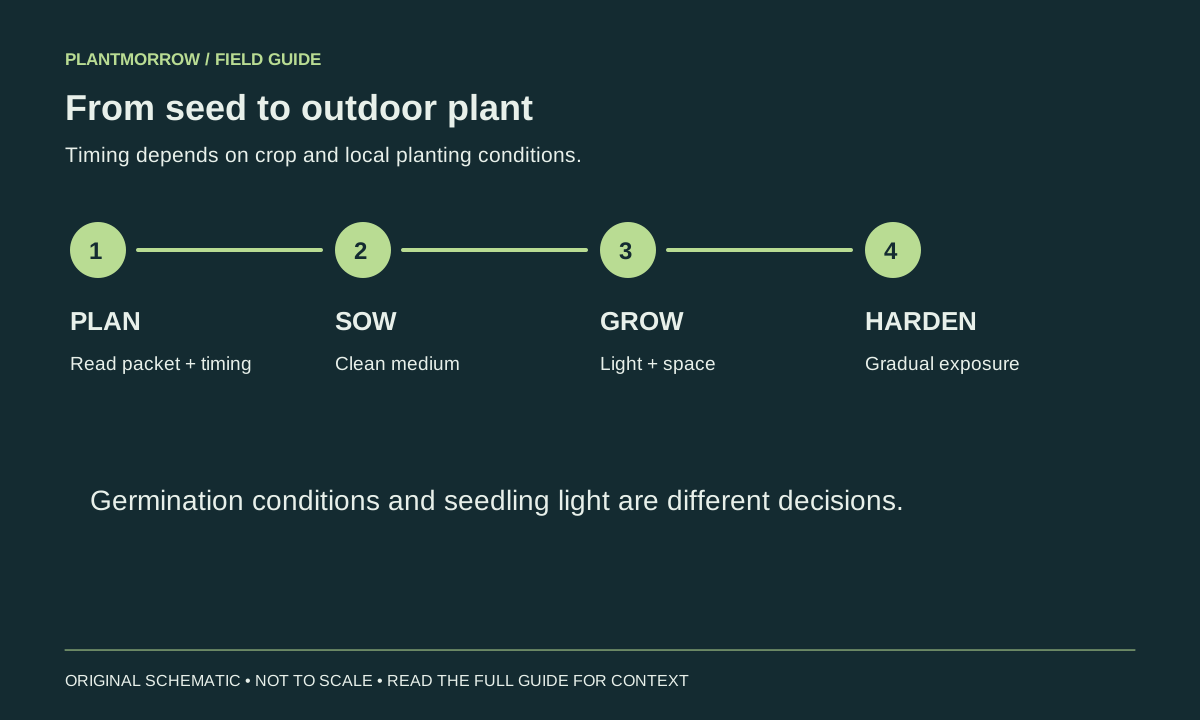
Starting seeds indoors is a sequence of small, timed jobs: choose a crop that benefits from an indoor start, work backward from suitable outdoor planting conditions, sow into a clean draining container, and provide enough light as soon as seedlings emerge. The goal is a healthy transplant ready when its next growing space is ready, not the earliest possible tray of green shoots.
You do not need to start every crop or buy a large propagation setup. One well-labeled tray can teach you about germination, moisture and seedling growth. This workshop follows that first batch from planning to transplant, with decision points where the correct action depends on the seed rather than a universal rule.
Before the workshop: choose the right project
Read the seed packet before selecting equipment. Look for the suggested sowing method, time before transplanting, germination requirements and mature growing conditions. Some crops are straightforward to direct-sow outside; others benefit from a head start. Starting a crop indoors merely because you have spare cells can create unnecessary handling and transplant stress.
Choose one or two crops with compatible needs for your first batch. A tray containing seeds with very different germination speeds and temperature requirements can be harder to manage than two clearly separated projects. Keep the original packets where you can consult them rather than transferring every seed into an unmarked jar.
The University of Minnesota's seed-starting guide describes planning, containers, growing medium and later seedling care. Use the method while substituting your own local planting season for its regional calendar. A late frost risk or short warm season cannot be resolved by copying a date from another climate.
Make a backward schedule
Write down the crop's intended transplant conditions, then use the packet's indoor-starting guidance to estimate the sowing window. Add time for gradual outdoor acclimatization. This is a working schedule, not an appointment that overrides unsuitable weather. A plant ready to move outside still needs a suitable destination.
Starting too early can leave you with large plants outgrowing their containers while outdoor conditions remain poor. Starting too late may reduce the useful growing season for some crops. If the timing no longer makes sense, buying a healthy transplant or choosing a different crop can be a better decision than forcing the original plan.
Station one: assemble a clean, practical setup
Gather draining containers, a tray to catch water, an appropriate seed-starting medium, labels and a way to water gently. Reused pots can be useful if they are properly cleaned and suitable for the job. Avoid containers with unknown chemical residues and make sure the tray can be carried without folding or spilling.
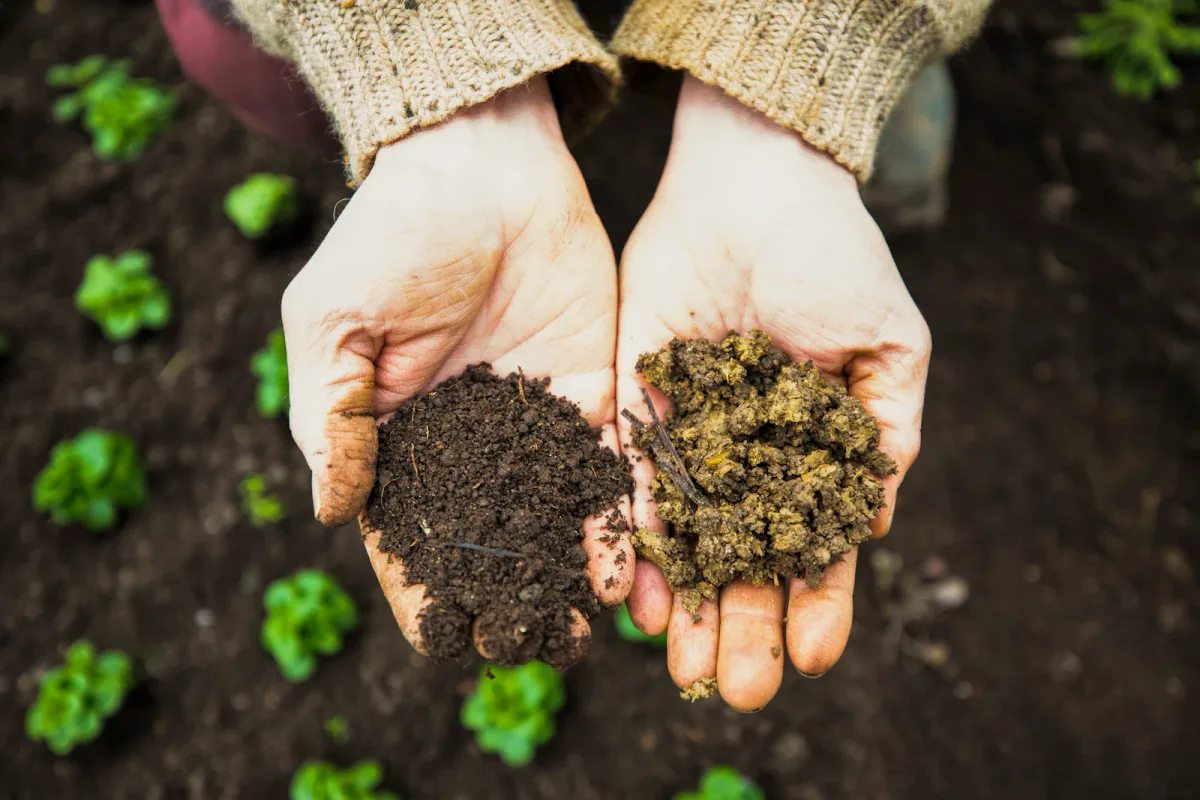
A fine-textured seed-starting medium makes it easier to place small seeds and manage moisture around new roots. Ordinary garden soil may bring different drainage, compaction and weed problems into a small cell. Do not assume a rich-looking mix is necessarily appropriate for germination or that seedlings require a strong supply of fertilizer from the beginning.
Set up the growing position before sowing. A kitchen table may be convenient for filling pots but unsuitable for weeks of developing seedlings. Consider light, electrical safety if using equipment, temperature changes, drainage spills and access for checking the tray each day.
A heating mat or clear cover is a tool for particular conditions, not an essential badge of successful propagation. If you use electrical equipment, follow its instructions, protect connections from water and check that the actual growing conditions are appropriate. Do not assume that warmer is always better.
Test the workstation with water first
Before opening a seed packet, put a little moist medium in one empty container and rehearse the watering method over your catch tray. Check whether water escapes through the intended holes, whether the container tips, and whether the tray can be lifted without spilling. This simple trial can reveal a setup problem before delicate seedlings occupy it.
Count the spaces beneath the usable part of your light, not the number of cells that fit on the table. Then compare that capacity with the number of plants you can eventually transplant. A seed packet may contain far more seed than your project needs. Keeping the unused seed labeled and stored according to appropriate guidance is preferable to creating a tray you cannot accommodate.
Separate equipment choices from performance claims. A tray with extra vents or a light with an impressive product name still needs to be used correctly. Check instructions for the actual model and make changes in response to observed conditions. A notebook entry saying that the outside cells dried earlier is actionable; simply recording that the setup was advertised as professional is not.
Finally, arrange the labels so they remain with the correct plants when containers are moved. If the catch tray is rotated or cells are separated for potting on, a label on only the tray edge can leave identities uncertain. Clear identification is part of successful propagation, not a finishing detail.
Station two: sow deliberately
Moisten the medium before filling the containers so that water is distributed reasonably evenly. Aim for a workable moist texture rather than a dripping slurry. Fill without compressing the mix hard enough to remove its useful air spaces, and leave sufficient room to water without washing everything over the edge.
Follow the seed's recommended depth and light requirements. Some seeds need light to germinate, while others are covered. A single rule about burying every seed by the same depth will produce avoidable failures. Larger seeds are easier to place individually, but small seeds also benefit from a restrained sowing rather than an accidental dense patch.
Label at once with the crop, cultivar and date. If comparing two batches, mark the distinction clearly. A photograph of the packet beside the completed tray can preserve information that becomes unreadable on a damp label later.
Water gently to settle the sowing without moving seeds out of place. Use a method you can control, and check that excess water can drain. If a cover is used to retain humidity, monitor the tray rather than treating the covered environment as a reason to ignore moisture and temperature.
Station three: respond when shoots appear
Inspect the tray often enough to notice emergence promptly. Seedlings need appropriate light as they develop; the warm, dim position that helped a particular seed germinate may not be an adequate growing environment afterward. Reassess covers and heat as the crop moves from seed to seedling.
Move or adjust the lighting setup according to its instructions and the plant's response. The University of Minnesota lighting guide explains why ordinary low-light conditions are insufficient for starting seeds. A lamp that makes the table look bright is not automatically delivering useful light across the whole tray.
Keep seedlings within the intended illuminated area. Edge cells can receive different light from those in the middle, and plants grow upward toward a fixture. Review placement as they develop. Follow the manufacturer's guidance for distance and operating time rather than assuming every LED or fluorescent fixture behaves alike.
Avoid the two common moisture extremes: letting a small root zone dry completely and keeping the entire tray continually saturated. Inspect the medium, container weight and drainage. Tiny seedlings cannot tolerate careless flooding, but repeated surface misting may also fail to moisten the roots appropriately once growth is established.
Station four: give each seedling room
When several seedlings share a cell, decide which will remain. Thinning early enough prevents a crowded cluster from competing for the same limited space. Where appropriate, cutting excess seedlings at the surface can avoid pulling neighboring roots apart. Follow crop-specific advice for seedlings that tolerate separation differently.
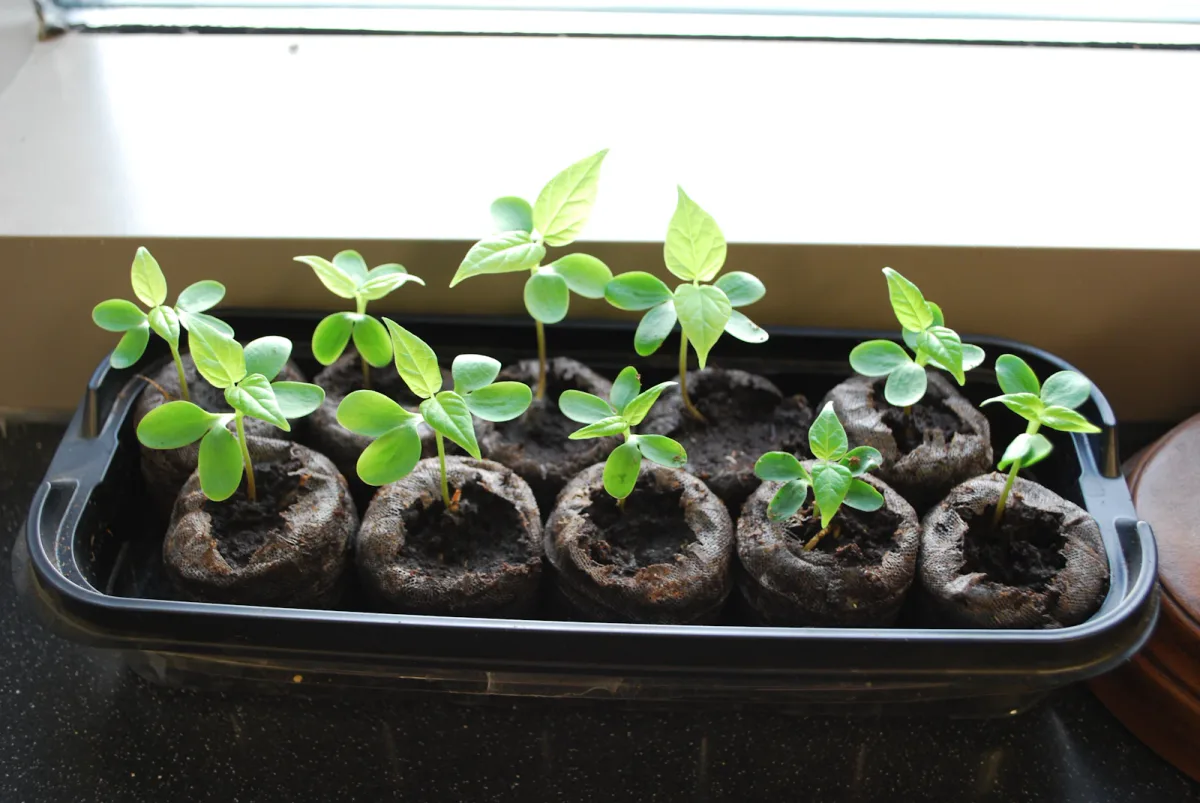
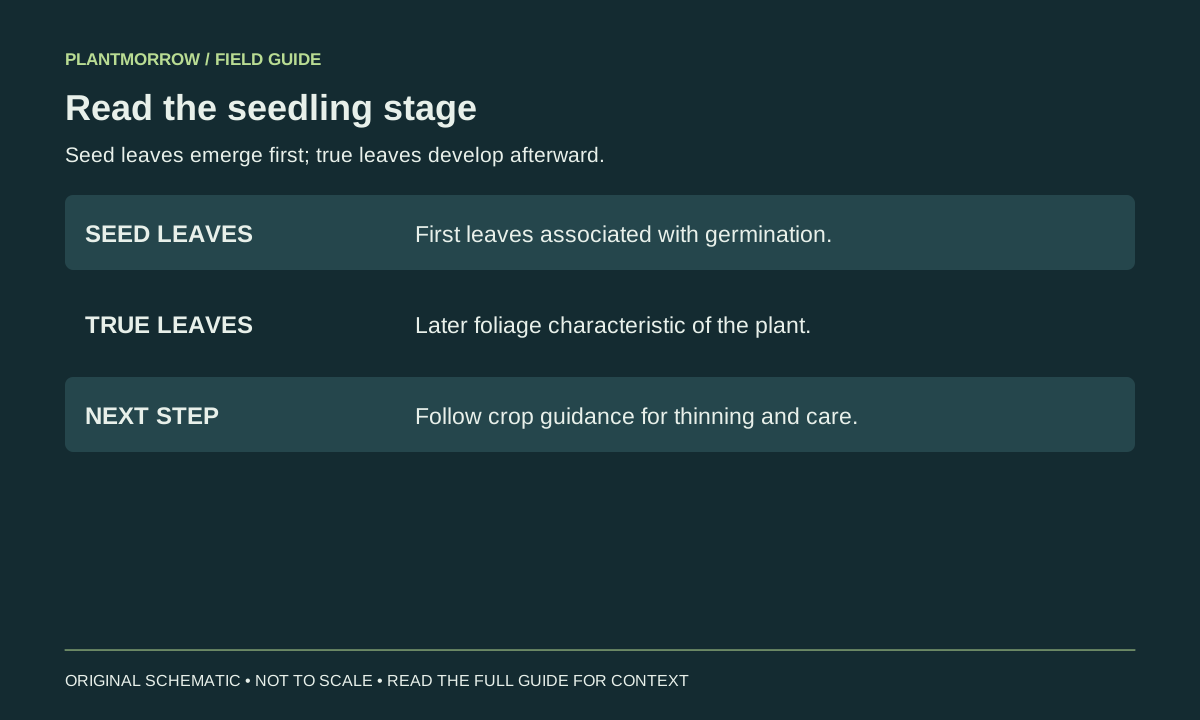
Learn the distinction between the first seed leaves and later true leaves. That observation helps you track development without assuming a seedling is ready for a larger pot merely because a green shoot appeared. Root development, container size and the time remaining before transplanting also matter.
If a seedling needs potting on, prepare the new container first. Handle it gently, support the root ball and avoid crushing the stem. Maintain the appropriate planting depth for that crop. The advice for one vegetable should not be applied indiscriminately to every seedling in the tray.
Feed only as appropriate to the crop, stage and medium. Check whether nutrients are already included, and use any fertilizer according to its label for seedlings. Weak growth may reflect inadequate light, root problems or unsuitable temperatures; it does not automatically mean that a stronger feed is needed.
Station five: rehearse outdoor conditions
Indoor-grown seedlings have developed in a comparatively sheltered environment. Before planting them permanently outside, introduce them gradually to the stronger light, moving air and temperature variation they will encounter. This acclimatization is commonly called hardening off.
Begin in protected conditions appropriate to the crop, then increase exposure as the plants cope. Watch the weather during the process. A hot, windy afternoon or unsuitable cold can overwhelm a small plant even if its calendar says it should be moving outside. Keep access to shelter available rather than putting the tray somewhere you cannot retrieve it.
Check moisture more often when conditions change. A cell that dried slowly indoors may lose water quickly outside. Do not confuse a protected first outing with proof that the seedling can tolerate a full day in its eventual planting position.
Prepare the final growing space before transplant day. Arrange appropriate spacing, supports and water. The project plan in starting a small vegetable garden helps connect the seed tray to a real bed or container rather than leaving you with more plants than you can use.
Read the tray when something goes wrong
Few or no seeds emerge: check the packet's expected germination window, seed age, moisture, sowing depth and temperature. Avoid immediately digging up every cell; doing so can disturb seeds that are still progressing normally. If a repeat sowing is necessary, change an identified issue rather than repeating every condition unchanged.
Seedlings become tall and weak: examine useful light and crowding first. Moving a tray from one dim corner to another will not correct inadequate illumination. The broader guide to houseplant light requirements explains how a room's appearance can differ from the light available to a plant.
Plants collapse near the soil surface: isolate the affected area and review moisture, cleanliness, air movement and temperature. Seedling collapse can have several causes, including damping-off diseases. Do not promise recovery from a household remedy or introduce a pesticide without appropriate identification and labeled instructions.
Roots fill the cell before planting weather arrives: assess whether a suitable larger container and enough light are available. Potting on may help some crops, but it also increases the space and care needed. Record the problem so the next sowing can begin at a more useful time.
Keep the first batch small enough to learn from
Imagine a hypothetical beginner starting one modest batch of tomatoes for a planned container garden. The gardener labels each variety, checks the seed packet, prepares light before sowing and keeps only the number of plants that can be housed at maturity. A few spare seedlings may be sensible; several trays with no destination create a different project.
Use a brief batch record: sowing date, first emergence, lighting changes, potting-on date and eventual transplant date. Add one sentence describing any problem and the action taken. This record makes next season's timing more accurate without pretending that one batch establishes a universal method.
If you also want fresh herbs, consider whether starting them in the same period is practical. The decisions in growing herbs in small spaces can help you separate a short propagation task from the longer-term needs of the resulting plants.
Frequently asked questions
Do I need a grow light?
You need enough useful light for the crop. Some growing positions can provide it naturally, while many indoor locations cannot. Evaluate the actual position and season before buying seeds, then use a suitable fixture if needed rather than relying on a dark windowsill.
Can I start seeds in reused food containers?
Possibly, if the containers are clean, safe for the purpose, stable and fitted with drainage. Avoid unknown residues or a material that breaks down during use. Include a tray that manages water without leaving the seedling roots continually submerged.
Should I keep every germinated seedling?
No. Keep healthy plants in numbers you can give adequate space, light and a final destination. Thinning and choosing among seedlings are normal parts of growing from seed. Keeping everything can leave the entire batch crowded and difficult to manage.
What can I do today?
Select one crop, read its packet and identify the outdoor conditions it needs. Work backward to a realistic sowing window, then prepare light and containers. If those pieces do not fit, adjust the project before opening the packet.
Read further
Sources & further reading
Selected horticultural references used to inform this guide. Local conditions and species-specific advice still matter.
Prepared with AI assistance for Plantmorrow. No independent expert review or first-hand growing trial is claimed. Our editorial approach · Suggest a correction.