A small vegetable garden works best when its size matches the time, sunlight and water you can reliably provide. Start with a reachable patch or a few suitable containers, choose a short list of vegetables you already eat, and learn how that space behaves before expanding. A tidy drawing and a manageable watering route are more useful at the beginning than a long shopping list.
The aim of your first season is not to replace the grocery store. It is to establish a growing area you can look after, discover which crops suit it and bring something worthwhile into the kitchen. That might mean regular salad leaves, a useful supply of beans or a few good tomatoes. Begin with a clear project rather than trying every appealing packet.
Define the harvest you actually want
Write down three vegetables that appear regularly in your meals. Then ask which of those you would enjoy harvesting in small quantities. A family that cooks leafy greens every week has different priorities from someone who wants ingredients for summer salads. There is no prize for growing a fashionable vegetable that nobody wants to prepare.
Think about the harvest pattern as well as the crop. Loose-leaf lettuce can offer repeated small pickings, while a root crop occupies its space until harvest. A large squash plant might eventually produce generously but demand much more room than its small transplant suggests. Read the mature size and growth habit before deciding that a plant is suitable for a small garden.
Limit the first plan to a few crops and varieties. Variety trials are interesting later, when you can recognize the effects of your growing conditions. At the beginning, three different tomato varieties in three different pots introduce several variables at once. A simpler planting makes it easier to understand what worked and what needs changing.
Make the success measure specific but flexible: maintain the garden throughout the growing season, harvest leaves for a meal when ready, and record which planting deserves another attempt. Avoid predicting a weight of produce before you know your soil, weather and available time.
Survey the space before choosing the bed
Visit the proposed growing area at several times on a clear day. Record when direct sunlight arrives and when buildings or trees shade the ground. A bright-looking corner is not necessarily sunny enough for a fruiting vegetable. Repeat the observation as the season changes, because a low roofline or nearby tree can alter the light pattern substantially.
The University of Maryland's vegetable-garden guidance recommends planning around sun, accessible water, usable paths and a manageable starting area. Use those as selection questions rather than copying a particular garden size. A smaller well-served space can be more practical than a larger plot across an awkward yard.
Check where water will come from. Carrying a heavy watering can around a fence might seem acceptable on planting day and become a reason to avoid the garden during a hot week. Unroll the hose or walk the actual route before settling on the site. Include somewhere to set down tools without stepping on the growing soil.
Look for standing water after rain, competing tree roots, animal activity and signs of previous land use. If soil contamination is a possibility, obtain appropriate local advice and testing before growing food there. A routine nutrient test is not the same as a contamination assessment, and dark, crumbly soil is not proof that a site is safe.
Choose one growing system
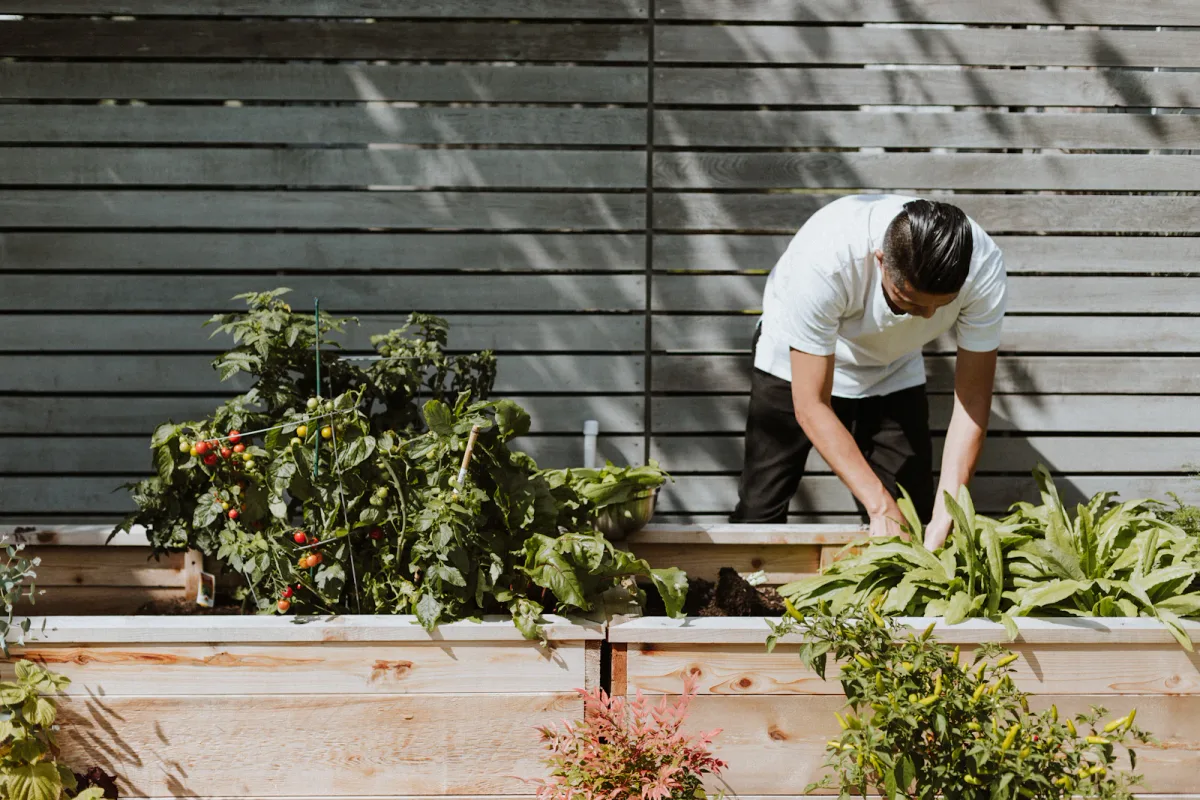
An in-ground bed can be economical when the existing soil is suitable and the site drains reasonably. A raised bed can define the growing area and make access clearer, but it needs an appropriate filling material and does not automatically solve every drainage or contamination concern. Containers are useful where digging is impossible, although they require closer attention to moisture and root space.
Choose the system for the limitation you actually have. Do not build a tall raised bed merely because it appears in a photograph. Consider how much material it needs, whether you can reach the middle, and where excess water will go. If a container garden fits your home better, use the crop-matching approach in vegetables for containers.
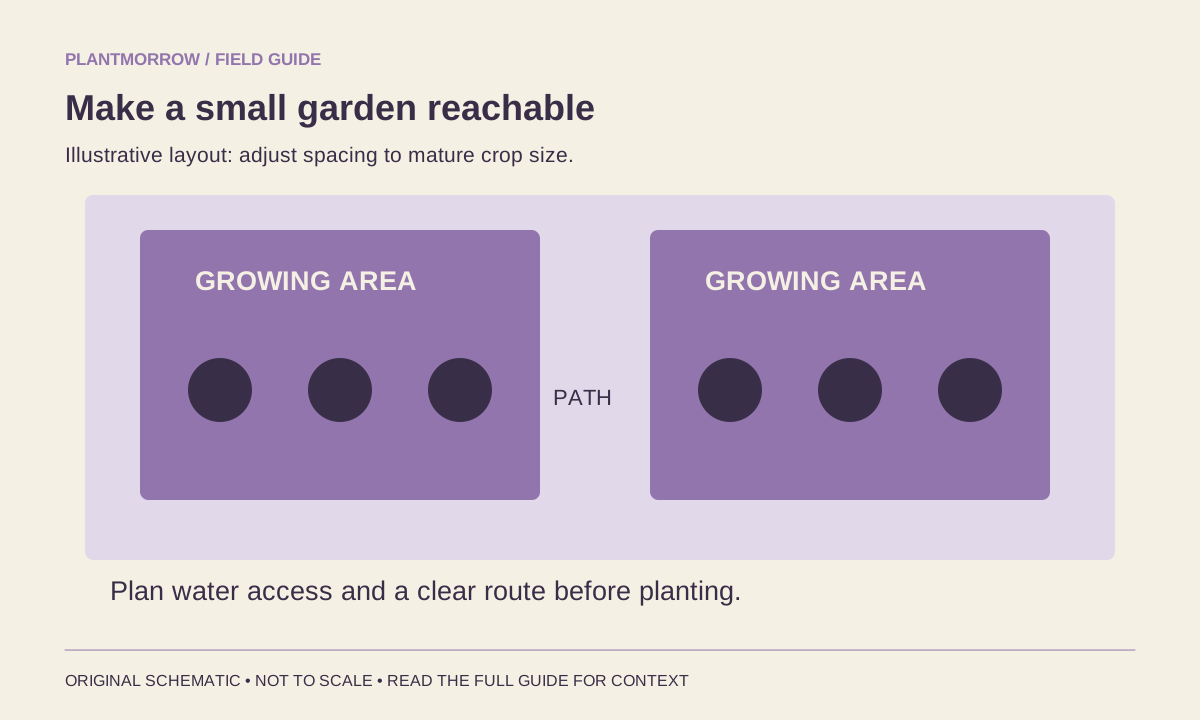
Lay out paths before filling or planting anything. You should be able to reach plants for watering, harvesting and inspection without repeatedly walking through their root zone. Test the reach with your own body, including any mobility needs, rather than relying on an assumed standard width.
For containers, select products intended for growing plants and provide drainage. Avoid repurposing a vessel with an unknown chemical history for food crops. Position heavy pots before filling them, and use a growing medium formulated for containers instead of assuming garden soil will behave the same way in a restricted pot.
Turn the sketch into a planting plan
Draw the space on paper, even if the drawing is rough. Mark access, water and the direction from which the strongest light reaches the garden. Add mature plant footprints, not just the position of each seed. Put supports into the plan before putting climbing crops into the soil.
Separate cool-season and warm-season choices. Suitable planting weather depends on the crop and your local climate, not on a universal month. Follow reliable regional planting guidance and the packet's instructions. The University of Minnesota's planting guide is useful for understanding the difference between sowing and transplanting; its local dates should not be applied unchanged elsewhere.
Decide which crops to direct-sow and which to buy as young plants. Starting everything from seed is not a requirement for being a gardener. Buying a healthy transplant can reduce the amount of indoor equipment and scheduling needed for a first attempt. Direct sowing may be the simpler route for crops that establish well that way in your conditions.
Keep the packet or label. Record the cultivar, sowing date and expected mature dimensions beside the drawing. This makes later changes deliberate. If one crop finishes early, you can decide whether there is a suitable follow-on planting rather than hurriedly filling every empty spot.
A hypothetical first-season project
Imagine a small, sunny ground-level space with easy hose access. Its gardener chooses one area for loose-leaf greens, a short sowing of bush beans and one supported compact tomato. The exact combination is an illustration, not a prescription: each crop still needs suitable local weather and spacing.
The useful feature is the division of attention. The greens supply frequent observations, the beans offer experience with direct sowing, and the tomato introduces support and transplant care. If the tomato overwhelms the space, that becomes a clear planning lesson rather than a problem hidden among many similar plants.
Prepare and plant without rushing the soil
Remove persistent weeds and assess soil condition before adding plants. Avoid digging when the ground is so wet that it smears or compacts under pressure. Soil preparation should create a workable root environment, not turn the bed into a perfectly smooth surface for a photograph.
Use a soil test to guide amendments and nutrient decisions. Adding compost can be helpful, but repeatedly applying large amounts without considering the existing soil can create problems. For a more deliberate improvement process, follow the observation steps in improving garden soil.
Before transplanting, gradually introduce indoor-raised plants to outdoor conditions. A plant accustomed to still indoor air can be stressed by wind, stronger sunlight and temperature changes. Choose a suitable planting day, water the root ball when needed, and handle the plant by its container or root ball rather than crushing a soft stem.
Plant according to crop-specific instructions. Different vegetables do not all need the same depth or handling. Direct-sown seeds need the depth and conditions stated on their packet. Label the rows immediately, then water gently enough that seeds stay where you placed them.
Install stakes or other appropriate supports early, before roots and stems make the job awkward. Leave room for hands, a watering nozzle and harvesting. A garden that is full from edge to edge on planting day often has less usable room than it appears to have.
Build a care loop you can sustain
Use a short sequence when visiting the garden: observe the whole planting, inspect the root-zone moisture, look under a few leaves, then decide what needs doing. This is more useful than watering first and inspecting later. Weather, plant size and soil conditions change the demand from week to week.
Water where the roots can use it and check that moisture actually reaches the growing zone. Newly sown seedbeds and established plants need different handling. The first may need gentle, attentive moisture management near the surface; the second needs water to penetrate its active root area. Avoid treating every planting as one identical watering task.
Weed early while unwanted seedlings are small. Check supports before a leaning plant becomes a tangle. Notice pests and damage, but identify the problem before selecting a treatment. A few holes do not automatically justify spraying, and a yellow leaf does not automatically call for fertilizer.
Harvest at the stage appropriate to each crop. Keeping a small basket and clean cutting tool nearby makes short harvest visits easier. If your routine becomes complicated, simplify it with the method in a simple plant care routine rather than adding more equipment.
Keep notes brief: planting date, meaningful weather events, first harvest and one sentence about performance. A photograph taken from the same position can show spacing and shade changes better than a long diary. Label observations as observations; do not assume a single good harvest proves a particular amendment caused it.
Make the shopping list fit the project
Before visiting a garden center, divide your list into things needed for establishment and things that can wait. A functioning water supply, suitable growing space, selected seeds or transplants, labels and an appropriate way to work the soil belong in the first group. Decorative edging, matching tools and extra varieties can wait until the garden has demonstrated a need for them.
Borrowing a tool for one preparation job can be more sensible than buying a whole set. Check the handle length and how it feels in your hands, especially if kneeling, lifting or bending is difficult. The right arrangement is one you can use repeatedly without avoiding the task. A stool, reachable bed edge or shorter route to water may be a more valuable improvement than another plant.
Leave some of your available time unallocated. Weather can delay a planting, a transplant may need acclimatizing, and a support may require adjustment. A project planned to fill every spare hour has no room for those ordinary events. Start with the minimum useful planting and reserve the option to add a later sowing when the first one is under control.
At the end of the first growing cycle, compare the drawing with the actual plant sizes and your notes. Keep what was useful, change one clear problem, and make the next plan from evidence collected in your own space.
Common first-project mistakes
Expanding before the first bed is manageable. Empty space is not a failure. Leave room for movement and learn your maintenance limits before building another growing area.
Planting every seed in the packet. Plan for mature plants and your household's appetite. Store the rest appropriately or share it, rather than creating a crowded planting you cannot thin confidently.
Treating fertilizer as a repair for everything. Poor light, damaged roots, unsuitable weather and water stress require investigation. More nutrients cannot replace missing sun or repair a persistently waterlogged root zone.
Making one disappointing crop the verdict on gardening. Compare what actually happened with the plant's requirements. A late planting, unsuitable variety or shaded site is information for the next plan, not evidence that you lack a special gardening ability.
Questions before your first planting
Is a raised bed necessary?
No. It is one useful growing system, not a qualification. Suitable in-ground soil or well-managed containers can also support a small vegetable garden. Choose according to access, soil, drainage, permissions and the materials you can maintain.
Can I begin if the main planting season has already started?
Often you can, but choose a crop with enough suitable weather left to finish. Check local sowing guidance and days to maturity rather than trying to compress a long-season vegetable into a short remaining window.
How many different vegetables should I grow first?
There is no required number. A few useful crops make care and comparison easier than a large mixed collection. Select enough variety to keep you interested, while leaving time to notice what each plant needs.
What should I do this week?
Choose the site, observe its light, test access to water and list three desired crops. Then check local planting timing and mature spacing. Buying plants comes after those decisions, when you know where each one can live.
Read further
Sources & further reading
Selected horticultural references used to inform this guide. Local conditions and species-specific advice still matter.
Prepared with AI assistance for Plantmorrow. No independent expert review or first-hand growing trial is claimed. Our editorial approach · Suggest a correction.