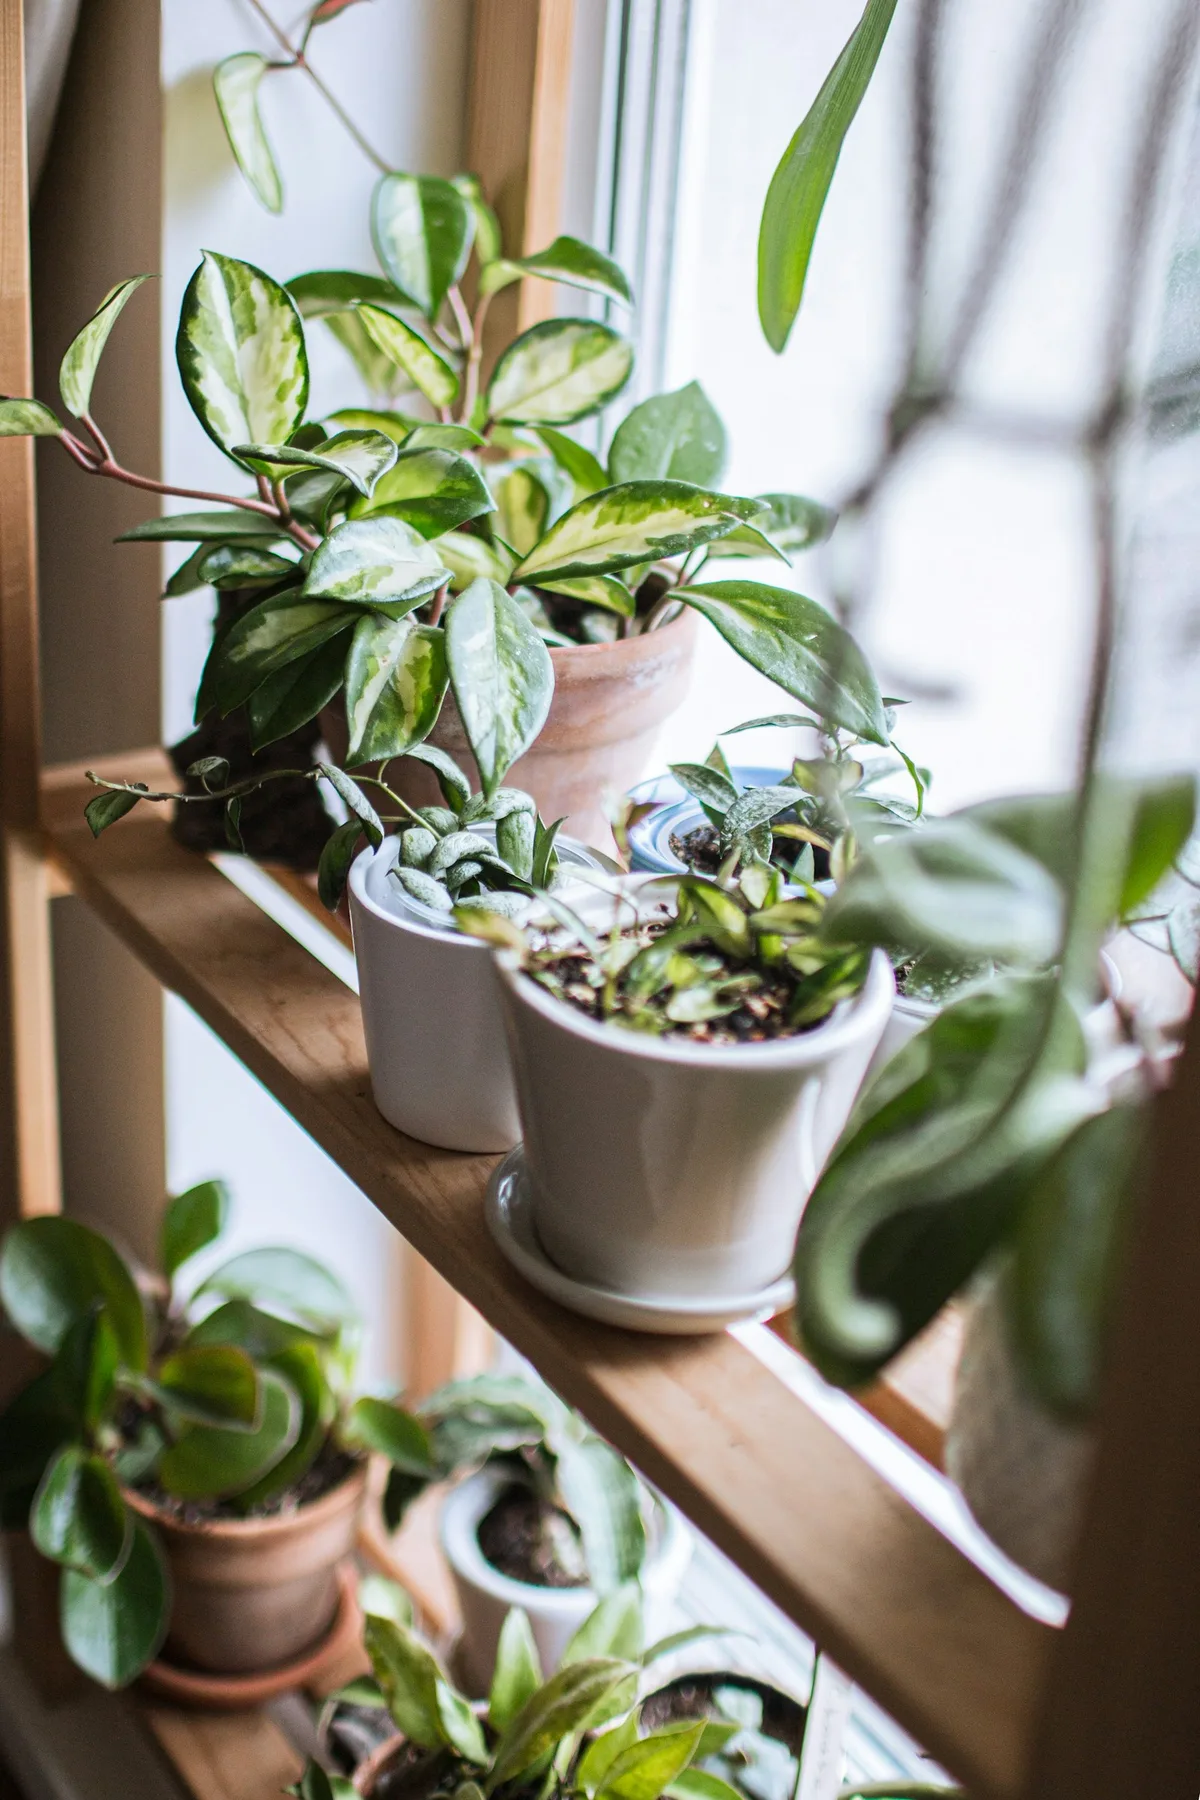
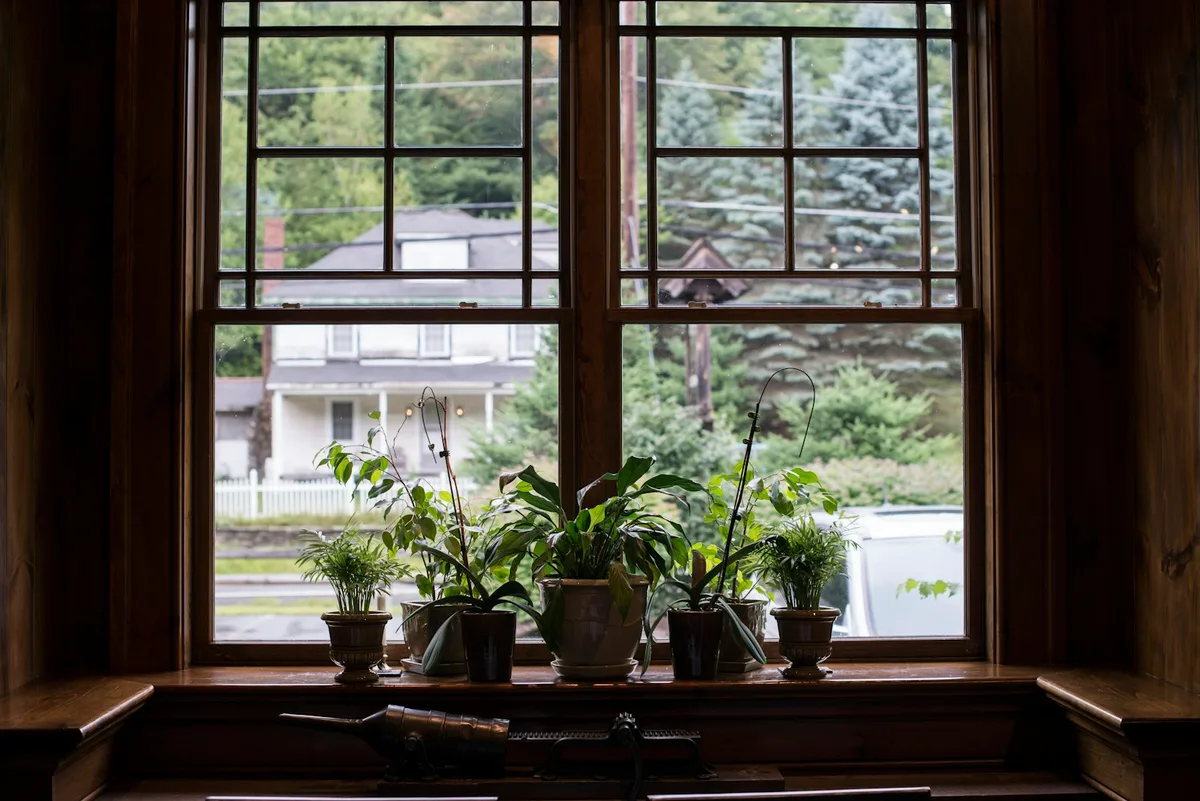
Understanding houseplant light requirements starts with observing the light that reaches the leaves, not choosing a room by its compass direction alone. A plant needs a suitable combination of brightness, duration, and exposure. The same window can offer a bright spot beside the glass, a filtered position behind a curtain, and a much dimmer shelf farther inside.
This observation notebook helps you compare those positions and match them to common houseplants. You do not need to turn your home into a laboratory or buy a meter before learning anything useful. Begin with clear observations, a reliable plant identity, and a record of how new growth responds. Use measurements as supporting information rather than pretending one number explains every plant.
Notebook page 1: map the places where leaves could live
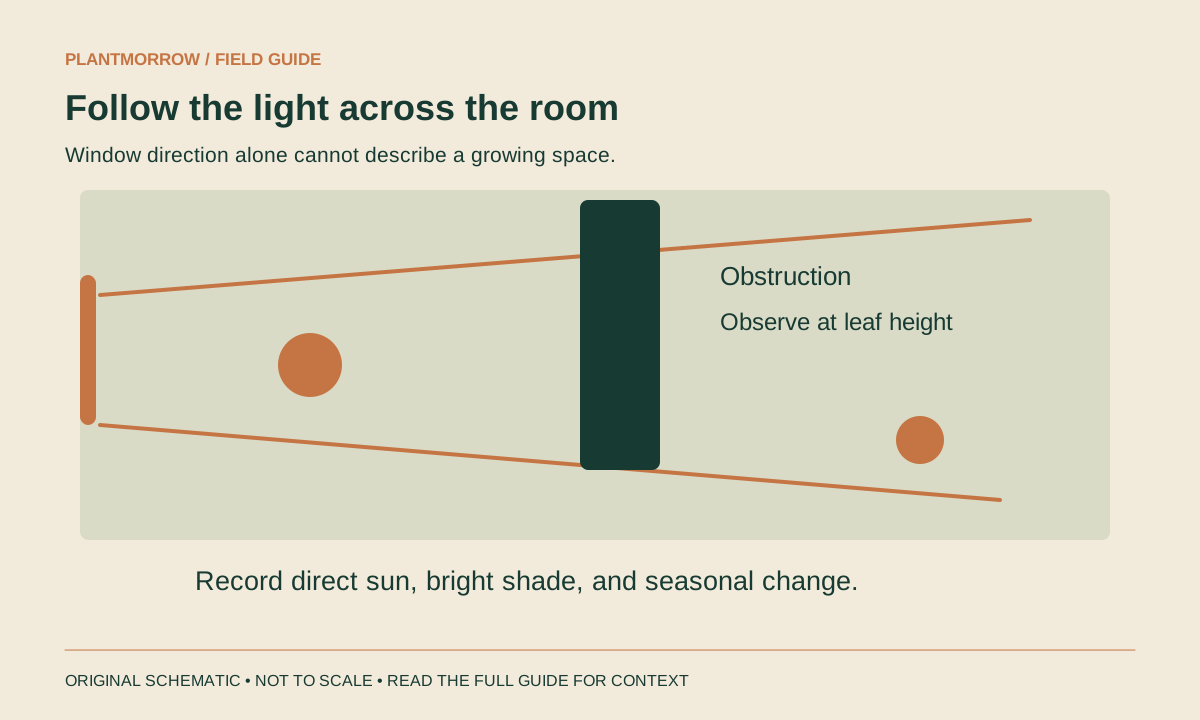
Draw a simple plan of the room. Mark the windows, doors, large furniture, curtains, and any shelf where you might put a plant. Add outside features you can see from the window: a neighboring building, balcony, roof overhang, or tree canopy. These features help explain why a nominally sunny direction may not produce the exposure you expect.
Stand at the intended leaf position rather than in the center of the room. A room can feel bright to a person whose eyes adapt while providing much less light in a recessed corner. Note whether the plant would be shaded by furniture or by another plant for a substantial part of the day.
Separate available growing sites from desired display sites. You may want a plant on a particular cabinet, but that does not establish that the cabinet offers suitable conditions. Keep the design flexible enough to move the display toward a better site or provide appropriate supplemental light. The RHS houseplant guide puts growing conditions ahead of purely decorative positioning.
Notebook page 2: distinguish brightness, duration, and exposure
Brightness describes how much light reaches the plant at a particular moment. Duration describes how long useful light is available. Exposure describes the character of that light, including whether direct sun reaches the foliage. These are related observations, but they are not the same thing.
A brief patch of intense afternoon sun does not make the rest of a dim day disappear. Equally, a plant can receive substantial daylight without being in a direct sunbeam. This is why labels such as “bright indirect light” need interpretation in the actual room rather than translation into one fixed distance from a window.
Common houseplant labels are useful shorthand, not a universal measurement standard. Start with the plant’s care guidance and compare it with your mapped sites. Minnesota Extension explains the role of adequate light and supplemental lighting. The practical lesson is to consider the whole light environment instead of treating a label as a single, unchanging quantity.
Notebook page 3: make a daytime observation record
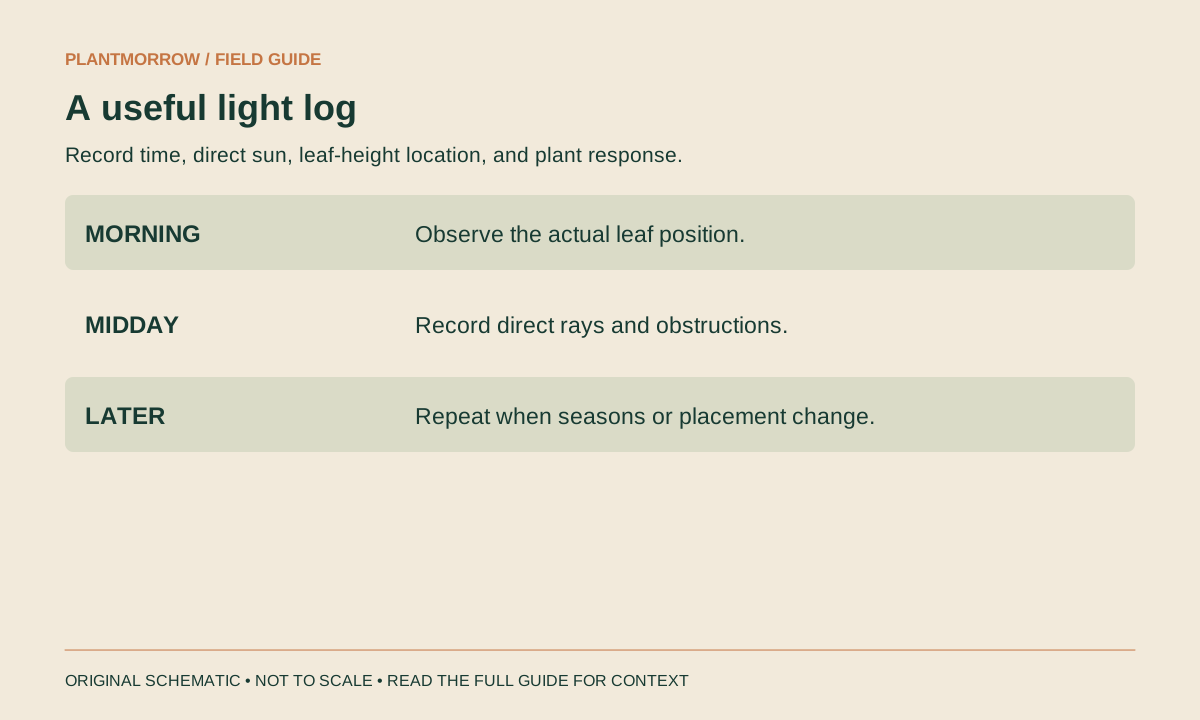
Visit the proposed site in the morning, around the middle of the day, and later in the afternoon when possible. Note whether direct sun reaches the leaves, whether a curtain filters it, and whether the site becomes deeply shaded. Repeat on another day if weather or your schedule made the first record unrepresentative.
Use ordinary descriptions that you can repeat consistently. “Direct sun reaches the shelf briefly before the neighboring wall shades it” is more informative than “good light.” A photograph taken from the same position can help you remember the pattern, but camera exposure changes should not be mistaken for a light measurement.
| Observation point | What to record | What it helps you decide |
|---|---|---|
| Morning | Direct sun, filtered daylight, outside shade | Whether early exposure is available |
| Midday | Brightest position and strongest obstructions | Which sites receive useful daylight |
| Afternoon | Late sun, heat, deepening interior shade | Whether a sensitive plant needs a different position |
This table is a worksheet, not a prescribed daily routine. Use it to understand the room once, then revisit it when seasons or the layout change.
Notebook page 4: interpret window direction cautiously
Compass direction helps you begin, but it does not finish the assessment. In the Northern Hemisphere, south-facing exposures often offer strong sun potential; in the Southern Hemisphere, the corresponding sun-facing orientation is generally north. Actual light still depends on latitude, season, buildings, trees, and the position of the plant.
East and west exposures can differ in timing and heat as well as direction. The same description does not guarantee the same conditions in every home. A sheltered west-facing apartment window may behave very differently from an unobstructed west-facing glass wall in a warm climate.
Be particularly cautious with advice that supplies an exact distance for every plant. That distance may have been written for a different latitude, window size, or obstruction pattern. Illinois Extension’s lighting overview provides a useful introduction to light categories; use the categories as context while making your own observations rather than treating the distances as universal instructions.
Notebook page 5: read the plant’s next growth
Light assessment is not complete once you choose a shelf. Watch what the plant produces there. Stems becoming unusually stretched, longer gaps between leaves, or weaker-looking new growth can prompt a review of the light environment. A change in variegation or reduced flowering may also deserve attention, depending on the species and cultivar.
Avoid diagnosing from one symptom alone. Yellowing can have several causes, and a pale leaf is not automatically proof of insufficient light. Check watering, root condition, pests, and recent environmental changes alongside the light record. The yellowing-leaf guide explains how to avoid that one-symptom shortcut.
Photograph the plant when you first position it, then compare new growth over time. Existing leaves may have developed under different conditions before purchase. Their persistence can be reassuring, but it does not prove that the new site supplies enough energy for continuing growth. Keep expectations realistic for slow-growing plants without using slow growth to excuse obvious deterioration.
Notebook page 6: make one deliberate adjustment
If the site appears too dim, look for a position with better access to suitable light. That could mean moving closer to the window, removing an unnecessary obstruction, or choosing a different room. Avoid abruptly exposing shade-grown foliage to much stronger direct sun. A gradual transition is easier to observe and may reduce the risk of damage.
If the plant receives too much intense exposure, consider a more suitable position or appropriate filtering. Do not respond by making the entire room dark. The goal is useful light that matches the plant, not the lowest possible brightness. Check whether foliage is also touching hot or cold glass or sitting in a strong draft.
Record what changed and when. Avoid combining a light move with repotting, heavy feeding, and pruning unless those jobs are independently necessary. If several inputs change at once, it becomes difficult to identify the reason for improvement or decline. A small, clearly documented adjustment gives you a more useful learning experience.
Notebook page 7: decide whether supplemental light has a job
Supplemental light can be useful when the natural environment cannot meet the plant’s needs. Before choosing a fixture, define the job: supporting foliage in a dim site, growing a collection through a low-light season, or encouraging a particular stage of growth. The required setup may differ from one task to another.
Follow the fixture’s instructions and the plant’s requirements for placement and duration. Do not copy a universal lamp-to-leaf distance from an unrelated light. Output, coverage, mounting height, and heat vary among products. Check that the fixture can illuminate the intended leaves rather than merely looking bright from across the room.
Use an appropriate timer if the setup calls for one, while allowing for the plant’s day-length requirements. More hours are not automatically better, and leaving every plant under continuous light is not a universal solution. Keep electrical equipment away from runoff and arrange watering so that it remains practical around the installed light.
Notebook page 8: a hypothetical room comparison
Imagine a room with a large window partly shaded by a tree. A shelf immediately beside the window receives diffuse daylight for much of the day. A cabinet on the opposite wall looks attractive but remains noticeably darker. A third site receives a short, strong beam through an uncovered section of glass.
A grower might place a suitable foliage plant on the first shelf, reassess the cabinet before putting a living plant there, and reserve the third position for a plant that can tolerate that exposure after an appropriate transition. The choice follows the observed sites rather than assigning every position the same “bright room” label.
If the tree later loses its leaves or a curtain is changed, the record should be updated. This example is illustrative, not a measured result. Its value is the process: compare actual leaf positions, choose a suitable plant, and watch its response. The low-light plant field cards can help with the darker end of that comparison.
Useful tools, and what they cannot tell you
A notebook and repeat photographs are enough to start. A basic light meter or a phone app can add comparative information if used consistently, but do not treat an unverified consumer reading as a complete prescription. Measure at leaf level, keep the method consistent, and understand what the device reports.
Brightness measurements do not replace species identification, exposure history, or observation of growth. A reading also represents a moment rather than the whole day unless you deliberately gather a longer record. Avoid giving false precision to a quick measurement by attaching an exact watering or feeding instruction to it.
The best tool is the one that answers a practical question. If you are comparing two shelves, consistent relative observations may be enough to decide that one has clearly better access to daylight. If you are planning a specialist growing setup, seek more detailed technical guidance appropriate to that crop, fixture, and growing objective.
Map the whole plant, not just its top leaf
A shelf can offer a bright upper position while leaving much of a trailing or tall plant behind an obstruction. Check the space the plant actually occupies. The leaves on a vine hanging below a solid shelf may experience different conditions from the leaves beside the window. Similarly, a small lamp aimed at the center of a broad collection may not cover the plants at its edges.
Leave room for growth when choosing a site. A plant squeezed beneath a cabinet may soon run out of useful space even if the initial placement looks balanced. Move neighboring objects when practical, or choose a plant whose mature habit fits the available position. Crowding more pots around the same window does not create more light for each one.
Occasional rotation can help keep a plant's presentation balanced, but it does not repair an unsuitable growing site. Make the basic placement decision first. Then use small adjustments to maintain access and shape, recording larger moves so that a later change in growth has a clear context.
Frequently asked questions
Is bright indirect light the same as no sun?
Not necessarily. The phrase generally points toward substantial usable light without inappropriate intense direct exposure, but plant guidance and household conditions vary. Examine when sun reaches the leaves and how the site behaves during the rest of the day. Do not turn a useful label into a rule that the plant must be kept far from every window.
Can a plant receive too much light through glass?
Yes, a plant can be exposed to unsuitable intensity or heat near a window. Its previous growing conditions matter as well. Check the species, observe the exposure, and avoid abrupt changes. If leaves appear damaged, investigate other conditions too rather than assuming that every mark is sun scorch.
Does a low-light plant need less water?
It may use water more slowly under lower usable light, but that is not a fixed dose instruction. Check the medium and species requirements. Pot material, root volume, and temperature also influence drying. The watering guide shows how to combine these observations instead of watering by a simple light label.
Should I change the position every winter?
Review the light rather than moving automatically. Some homes become significantly dimmer during the local winter; others gain direct access when outdoor foliage changes. Indoor lighting can alter the pattern too. Use the winter care planner to connect seasonal observations with sensible care adjustments.
Close the notebook with one clear decision
Choose the best available site for one plant, note why it suits the species, and record any change you make. Revisit the record when new growth or seasonal conditions give you something meaningful to compare. Good light management is a continuing match between plant and place, not a single purchase or a permanent label on a window.
Read further
Sources & further reading
Selected horticultural references used to inform this guide. Local conditions and species-specific advice still matter.
- Lighting for Indoor Plants and Starting Seeds — University of Minnesota Extension
- Lighting — University of Illinois Extension
- How to Grow Houseplants — RHS
Prepared with AI assistance for Plantmorrow. No independent expert review or first-hand growing trial is claimed. Our editorial approach · Suggest a correction.