Repot an indoor plant when its roots, growing medium, or container create a real problem that cannot be managed comfortably in the existing setup. Routine repotting is often easiest around active growth, but a calendar date alone is not a reason to disturb healthy roots. Persistent root-zone problems may need attention even outside the usual spring window.
The practical job is to move the plant into a suitable root environment while causing as little unnecessary disruption as possible. This workshop separates the decision from the procedure: first assess whether a move is needed, assemble a sensible setup, then work through removal, inspection, planting, and aftercare. It is not an instruction to repot every houseplant the moment it comes home.
Before the workshop: decide whether this is the right job
Several observations can justify a closer look: a heavily crowded root ball, a container that has become unstable, medium that is compacted or difficult to rewet, or a plant that has outgrown a manageable watering arrangement. Look at these together. One root emerging through a drainage hole does not automatically mean that the entire pot is full.
Check the context as well. A plant that dries quickly beside a hot window might need a watering adjustment, while a plant that remains wet in a dim room might need better conditions rather than a larger container. Read the watering decision guide before interpreting every unusual drying pattern as a root-space problem.
Routine work can usually wait for a suitable growth period if the plant is stable. A suspected root emergency is a different decision. If the medium is persistently wet and roots appear damaged, investigate the cause promptly. The RHS houseplant guide explains the broader relationship between potting, growing conditions, and ongoing care.
A new purchase is not automatically a workshop project
When a plant arrives home, first understand how it is currently growing. Remove packaging that prevents inspection, check the nursery pot and its drainage, and compare the existing medium with the plant’s needs. A decorative outer sleeve can disguise a perfectly usable inner container. Changing that sleeve may solve the display problem without changing anything around the roots.
If the plant is stable, learning its new light and drying pattern before optional repotting can make later decisions clearer. That is not a command to leave obvious root damage untreated. It is a reminder to distinguish a genuine growing problem from the understandable urge to make a new purchase look settled immediately. Keep the reason for intervention specific enough that you can judge whether the work actually helped.
Set out the workbench
Prepare a clean, stable surface with room for the plant, old pot, new pot, and loose medium. Protect the surrounding floor and keep tools where they cannot fall into the root ball. Follow handling instructions on the growing-medium package, and choose a workspace that lets you work without rushing.
You will normally need an appropriate fresh mix, a container with workable drainage, a scoop, and a way to water afterward. Keep clean cutting tools available for justified removal of dead or damaged material, but do not assume every plant requires root cutting. A soft brush or a blunt stick may be more useful for gently examining the outside of a dense root ball.
Check the pot comparison before committing to a new container. A modest change in usable volume is often easier to manage than a dramatic jump. Measure inside the pot and allow practical headroom for watering. The plant should not end up buried deeper merely because the new container is taller.
Step 1: understand the existing root-ball moisture
Assess the medium before removing the plant. A completely dry, crumbling root ball and a saturated, heavy one can both be awkward to handle. For routine work, aim for a condition that lets the root ball hold together without being waterlogged, while considering the species and the reason for repotting.
Do not water a saturated plant simply because a general checklist says to do so before repotting. Equally, avoid allowing exposed roots to sit around drying while you search for missing supplies. Have the new container and medium ready before you begin removal.
If the plant is large, arrange help or choose a safer working position. Supporting the container and root ball is different from carrying the plant by a few stems. Avoid turning an ordinary maintenance task into a lifting problem. A heavy floor specimen may require a different approach from a small nursery pot.
Step 2: release the plant without pulling its leaves
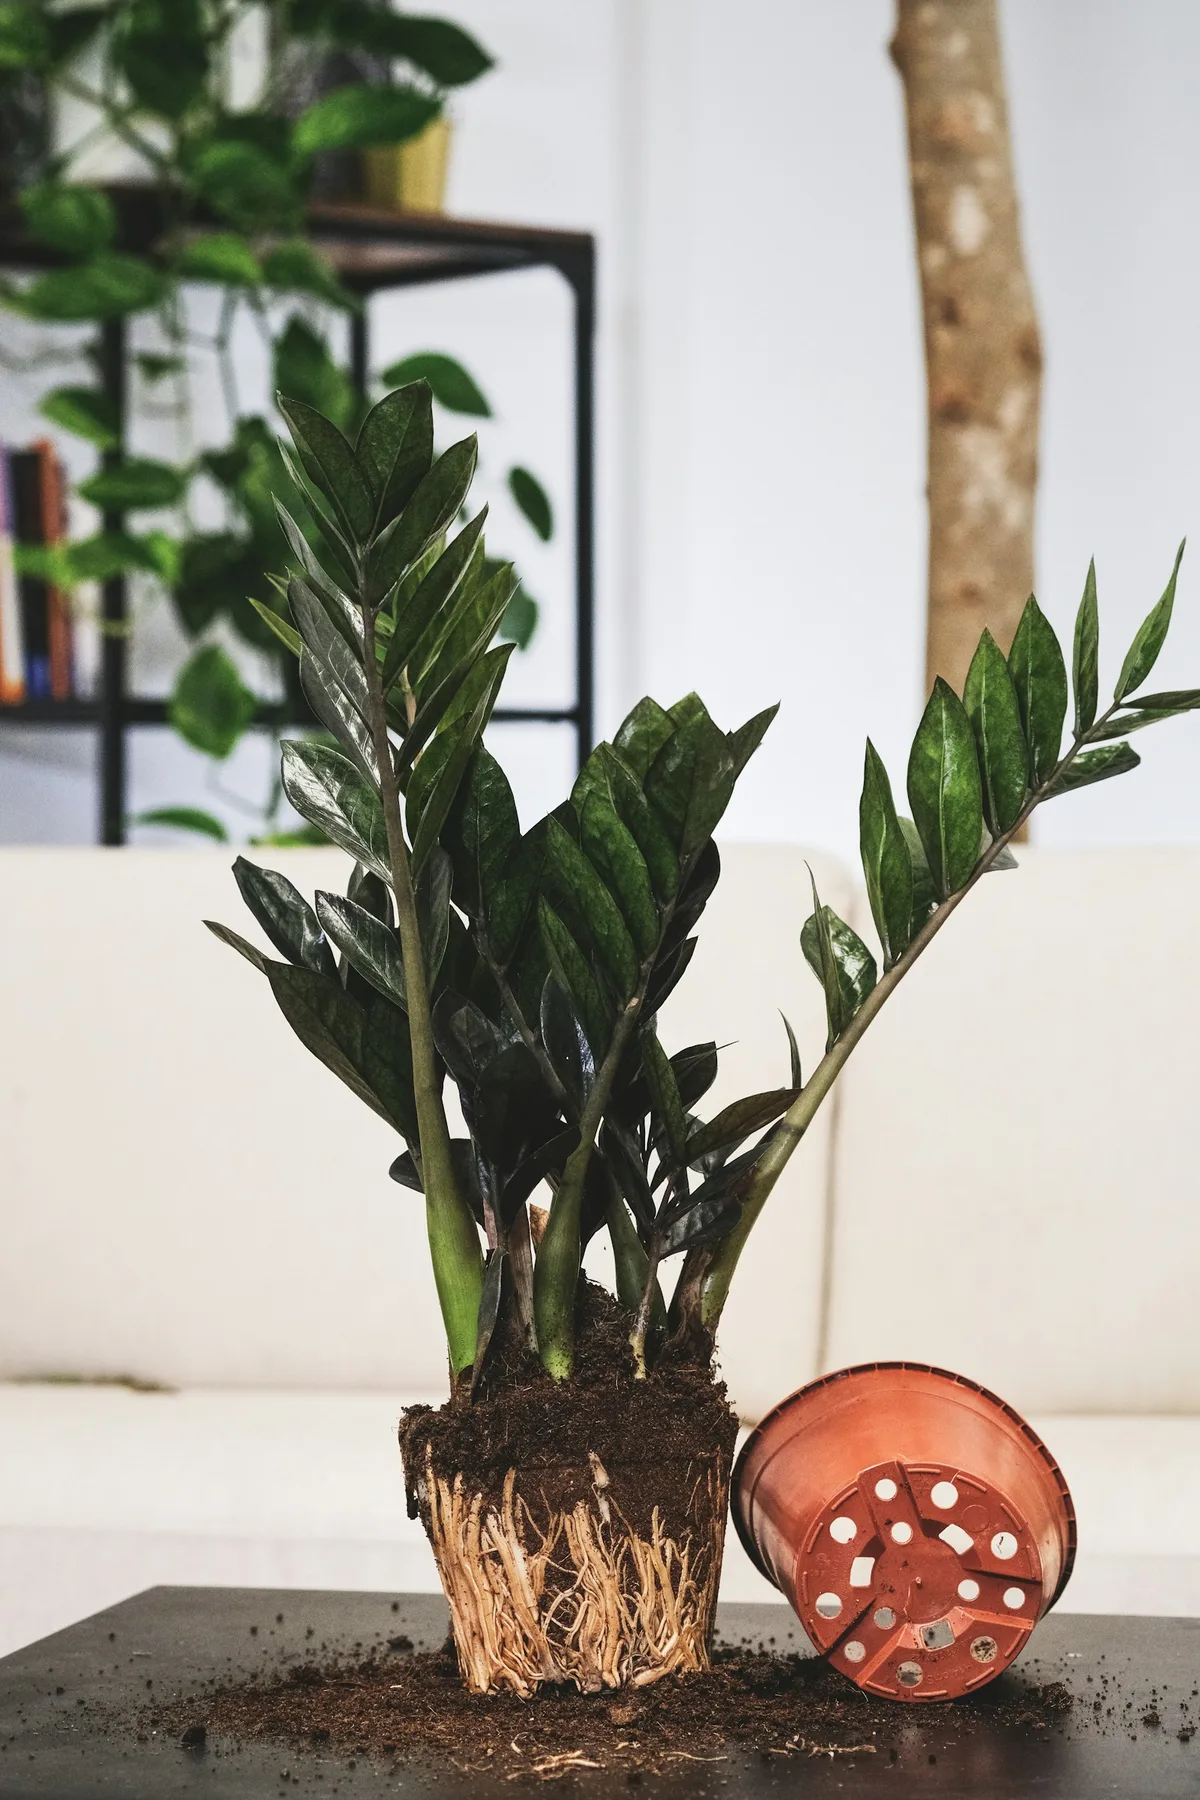
Support the root ball close to its base. If the nursery pot is flexible, gently squeeze its sides to loosen the medium before easing the plant out. Work patiently around the rim and base rather than tugging on foliage. Check whether roots have grown through drainage holes and become caught.
A rigid container may require a different method. Do not strike a brittle pot or force a trapped plant out in a way that creates sharp fragments or tears major roots. If release is difficult, stop and examine where the plant is held. The obstacle might be a narrow rim, a projecting root, or a dense root mat at the bottom.
Once the plant is free, keep it supported on the prepared surface. Retain enough of the existing root ball to preserve structure while you inspect it. Removing every trace of old medium is not a universal requirement, and unnecessary handling can create damage that the repotting was intended to avoid.
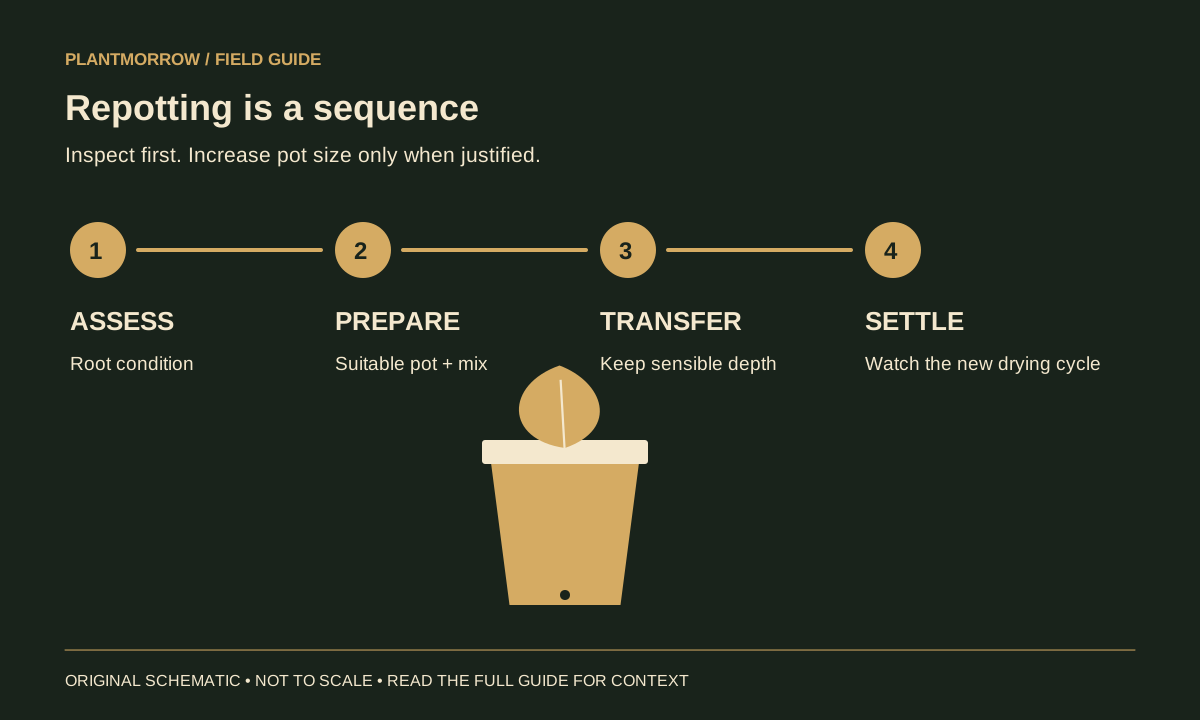
Step 3: inspect before deciding what to remove
Look at the distribution and condition of the roots. Are they circling densely around the outer edge, or is there still substantial medium with relatively few roots? Does the mix crumble normally, or has it become a tight, poorly managed mass? Compare these observations with the symptoms that prompted the move.
Gently loosening a crowded outer root layer may help some plants establish into fresh medium, but aggressive cutting should not be the default response for every species. Roots differ in their structure and tolerance of disturbance. If you are unsure, use species-specific guidance rather than applying a dramatic technique from an unrelated plant.
Maryland Extension’s repotting instructions provide a useful procedural reference. Adapt any root work to the actual plant and condition. If roots look damaged, separate the question of disease or persistent saturation from ordinary crowding. Simply hiding a problem beneath fresh mix does not address its cause.
Step 4: establish the new planting height
Place enough suitable medium in the bottom of the new pot to position the root ball at the correct level. Check the old soil line before adding more. The plant should generally retain its established planting depth, with practical space below the rim so water can enter without carrying mix over the edge.
Test the height with the root ball supported, then adjust the base layer. This is easier now than after the pot is half filled. Avoid balancing the plant on a tall, loose mound that collapses as you work. A stable, level base helps the plant remain upright without forcing you to pack the surrounding medium tightly.
Do not add a thick gravel layer as an automatic drainage measure. Use a functioning drainage pot and a suitable mix instead. If medium could escape through a very large opening, choose an appropriate porous cover that does not block water movement. Keep the actual root space available for roots.
Step 5: fill the sides carefully
Center the plant as intended, then add fresh medium around the sides. Work it into obvious gaps with gentle handling. The aim is contact between the root ball and surrounding mix, not a hard, compressed block. Check that the plant remains at the correct depth as the sides fill.
Rotate the pot as necessary so you can see what you are doing. A plant leaning against the rim may be hiding a gap on the far side. Support stems appropriately while you work, but avoid burying them simply to make the display appear more secure.
Use a potting mix suited to the plant. An orchid, a succulent, and an ordinary foliage plant may need different root environments. Adding a handful of a fashionable ingredient does not automatically make a mix suitable; consider the whole blend and how it behaves in the actual container.
Step 6: water with the new setup in mind
After conventional repotting, appropriate watering helps settle the mix around the roots. Apply it gently, observe absorption, and allow excess water to leave. Follow species-specific guidance where the plant or the type of root work calls for a different approach. Do not turn a general step into a rule that overrides the plant’s needs.
Check for settling afterward. A small adjustment to fill an exposed gap is different from piling more medium over the stem base. Empty the saucer or outer pot, and make sure that the drainage arrangement still works once the new container is in its final position.
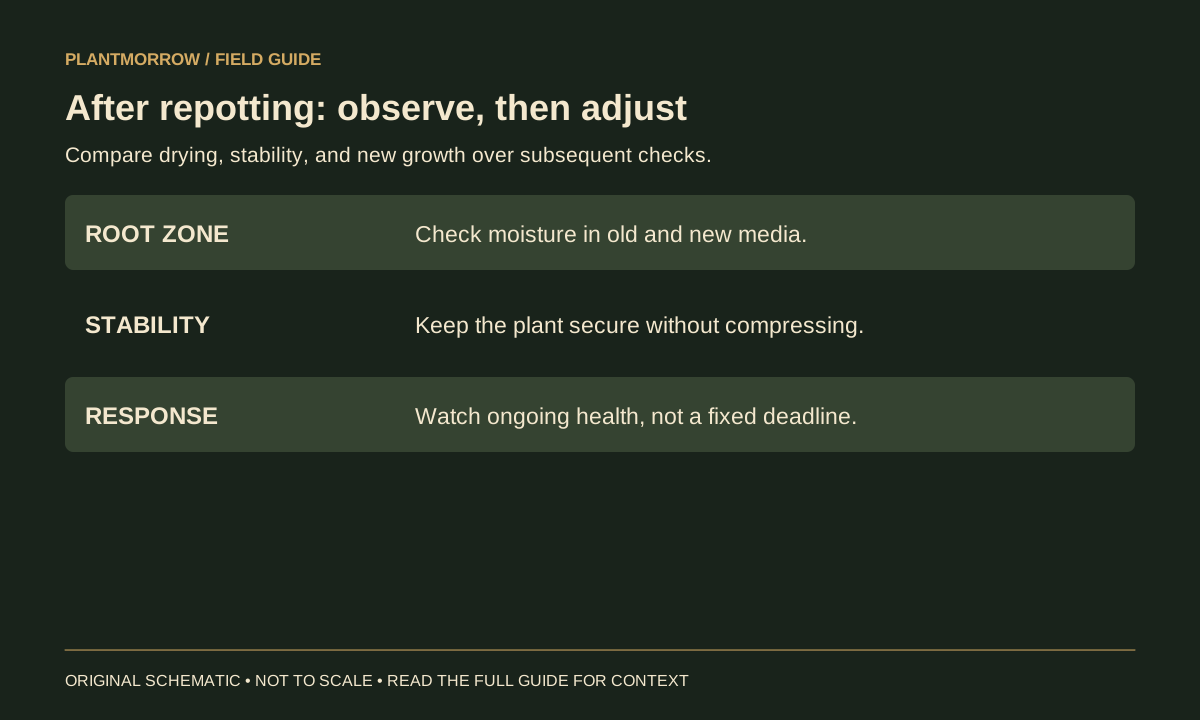
The new medium and pot can change the drying pattern. Do not resume the old watering interval by habit. Compare moisture in the original root ball with the fresh surrounding mix, especially when the two materials differ. A dry-looking outer ring can coexist with a still-wet center.
The first weeks: observe rather than fuss
Return the plant to a suitable, stable environment. Avoid combining repotting with an abrupt move into stronger sun or a completely different temperature range unless there is a separate, necessary reason. You want to understand how the plant responds to the root-zone change.
Record the date, new container, medium, and reason for the move. Watch new growth and the overall watering pattern. Existing damaged leaves may not become perfect again, so judge progress from the broader condition rather than expecting a cosmetic reset. See yellowing-leaf troubleshooting if symptoms continue.
Do not automatically add fertilizer as a welcome gift. Check whether the fresh mix already contains nutrients and whether the plant is actively growing. Minnesota Extension’s spring care guidance connects repotting with changing growth and watering needs rather than treating it as an isolated decorative task.
A hypothetical workshop decision
Suppose a pothos has become difficult to water: moisture runs around the edge, the root ball is tightly crowded, and the pot dries rapidly despite a sensible routine. A measured move into a slightly larger drainage pot with appropriate fresh medium is a reasonable project. The root inspection supports the decision made from the watering history.
Now consider a different pothos with sparse roots sitting in a large, wet pot. Giving it an even larger container would answer the wrong question. Investigate light, medium, drainage, and watering instead. The same leaf symptoms can lead to a different root-zone decision, which is why the inspection stage matters more than owning a matching set of bigger pots.
Mistakes to leave off the workbench
- Repotting a healthy plant solely because the nursery pot is unattractive.
- Upsizing dramatically to avoid repotting again in the future.
- Pulling the plant by its leaves or forcing a trapped root ball out.
- Cutting healthy roots without a species-appropriate reason.
- Burying the stem base to compensate for an oversized or unstable container.
- Returning to the previous watering interval without checking the new medium.
These are preventable problems, not reasons to avoid repotting altogether. A deliberate, modest change supported by observation is easier to manage than a dramatic intervention made in response to one imperfect leaf.
Frequently asked questions
Must I repot every year?
No. Growth rate, species, container size, and medium condition determine the need. Some plants need attention sooner; others remain manageable longer. Inspect the root environment and watering behavior rather than replacing a calendar rule with another calendar rule. If the plant is healthy and the setup works, there may be no immediate benefit from disturbing it.
Is spring the only acceptable season?
Active growth often makes routine repotting a convenient choice, and spring is common in many homes. Local seasons and indoor lighting differ, however. A serious root-zone problem may need attention at another time. Distinguish an optional routine move from necessary corrective work, and check the plant’s own growth and requirements.
Should I remove all the old soil?
Not automatically. The purpose of the move and the plant’s root condition determine how much disturbance is justified. Retaining a sound root ball can be preferable to unnecessary stripping. Suspected disease, unsuitable medium, or specialist plants may call for a different procedure, so use guidance appropriate to that situation rather than treating bare-rooting as a standard step.
What if the plant droops afterward?
Check moisture, planting stability, drainage, and any change in light or temperature before watering again. A droop is not a reliable instruction to add more water. If the plant declines or roots appear damaged, seek more specific advice. Keep the record of what changed so that you can distinguish the effects of repotting from an unrelated environmental problem.
Read further
Sources & further reading
Selected horticultural references used to inform this guide. Local conditions and species-specific advice still matter.
- Potting and Repotting Indoor Plants — University of Maryland Extension
- Spring Houseplant Care — University of Minnesota Extension
- How to Grow Houseplants — RHS
Prepared with AI assistance for Plantmorrow. No independent expert review or first-hand growing trial is claimed. Our editorial approach · Suggest a correction.