Pruning houseplants safely starts with deciding what you want to remove and understanding where that plant can grow again. A trailing vine, a branching shrub and a palm do not respond to the same cut. Removing a dead leaf is routine maintenance; shortening a living stem is a structural decision with consequences for the plant’s future shape.
You do not have to prune a houseplant simply because it has reached a certain age. This guide separates three jobs: clearing damaged material, improving an untidy outline and reducing an overgrown plant. Choose one clear purpose, make the smallest useful intervention and leave the plant with enough healthy growth to recover.
Before the scissors: identify the growth pattern
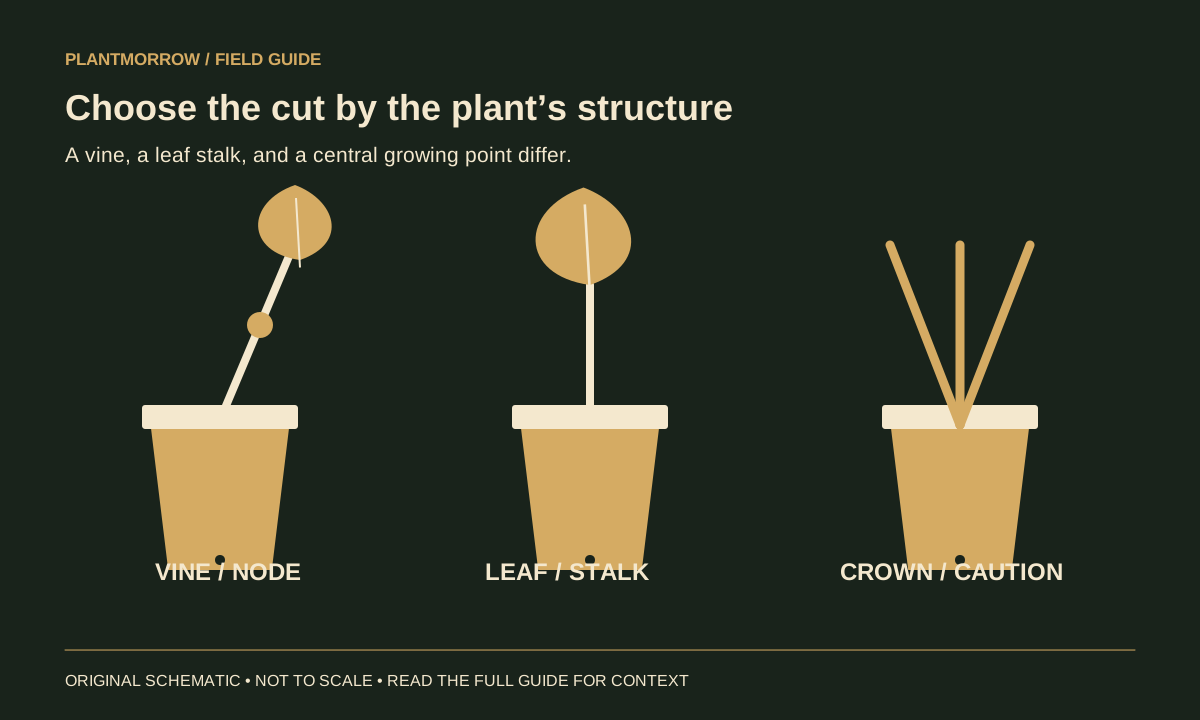
Look at how the plant builds itself. A pothos vine carries leaves along an extending stem with nodes. A woody, branching houseplant has a different framework. A rosette or a palm may concentrate growth in a central point that should not be treated like a hedge. Identify the plant before making an irreversible cut through its main growing structure.
Follow one stem from its base to its tip. Notice where leaves attach, where branches begin and which parts are alive. A long bare leaf stalk is not necessarily a stem capable of producing new branches. This distinction matters when you decide whether shortening a plant will create a fuller outline or simply remove its living top.
Photograph the plant before you begin. Looking at the photograph from a short distance can make its structure clearer than leaning into the foliage. Mark a possible cut with a loose piece of string if necessary, then step back. The mark should help you think, not constrict or damage the stem.
The RHS introduction to pruning explains common purposes such as shaping and removing unwanted growth. For houseplants, apply that purpose-led thinking alongside species-specific instructions. General pruning principles do not make every indoor plant a suitable candidate for cutting back.
Job one: remove a dead or badly damaged leaf
First decide whether the tissue is dead, partly damaged or still functioning. A single brown edge does not mean the entire leaf must go. If most of a leaf is green and useful, removing it for cosmetic reasons may take away more healthy foliage than you intended.
Where a leaf is clearly dead, remove it carefully according to the plant’s growth form. Support its attachment rather than yanking it downward. Pulling on a stubborn leaf can tear the surrounding tissue or disturb a smaller plant in its pot. On plants with fibrous leaf bases, read the specific care advice before stripping material away.
If you trim a dry edge for appearance, do not expect the cut edge to heal into fresh green tissue. The underlying problem still needs investigation, and repeated trimming can gradually remove most of a leaf. The brown leaf edges guide helps separate cosmetic damage from a continuing environmental issue.
Pause when damaged leaves appear repeatedly. Pruning is not treatment for persistently wet roots, unsuitable light or an active pest problem. Removing every affected leaf can hide the evidence while leaving the cause untouched. Record the pattern before cleaning the plant up.
Job two: shorten a trailing or branching plant
On a suitable vine, choose a healthy section where the remaining stem retains useful nodes and foliage. Avoid cutting so close to a node that you crush or damage it. Make a clean cut with a tool that is appropriate for the stem’s thickness, supporting the stem so it does not split as the blade closes.
Take off less than your first dramatic idea suggests. You can assess the response and shorten another stem later, but you cannot restore the piece already removed. A cautious first cut is especially valuable when you have not pruned that species before or when the plant is recovering from an environmental change.
For a branching plant, consider the direction and balance of the remaining framework. Removing all growth from one side can make an already top-heavy specimen less stable. If the purpose is to improve its outline, compare the whole plant after each cut instead of completing one side without looking up.
Do not mistake leggy growth for a problem that scissors alone can solve. If long gaps between leaves developed in insufficient light, the plant may continue producing that pattern after pruning. Pair the structural decision with a review of houseplant light requirements, then adjust exposure gradually where appropriate.
Job three: decide whether major reduction is appropriate
A plant that no longer fits its space creates a planning question, not an automatic instruction to remove half its height. Identify whether the species tolerates hard pruning and whether it can regrow from the wood or stem you intend to leave. If that information is unclear, stop before cutting through the main trunk.
Palms deserve particular caution. Cutting through the growing point of a single-stem palm is not equivalent to shortening a branching shrub. Similar caution applies to other plants whose form depends on an intact central growth point. Consult a reliable plant-specific reference rather than relying on a universal houseplant haircut rule.
Consider alternatives: a different position, a support for climbing growth, a more stable pot arrangement or passing the plant to someone with more room. You might also propagate appropriate material before reducing the parent, provided it is healthy and the cultivar’s propagation restrictions allow it.
For a hypothetical overgrown trailing plant, a staged approach could mean shortening a few of the longest vines while leaving others intact. Watch the remaining framework and new growth before deciding whether another reduction is needed. This is a conservative planning example, not a percentage rule for every houseplant.
Prepare a tool that makes a clean cut
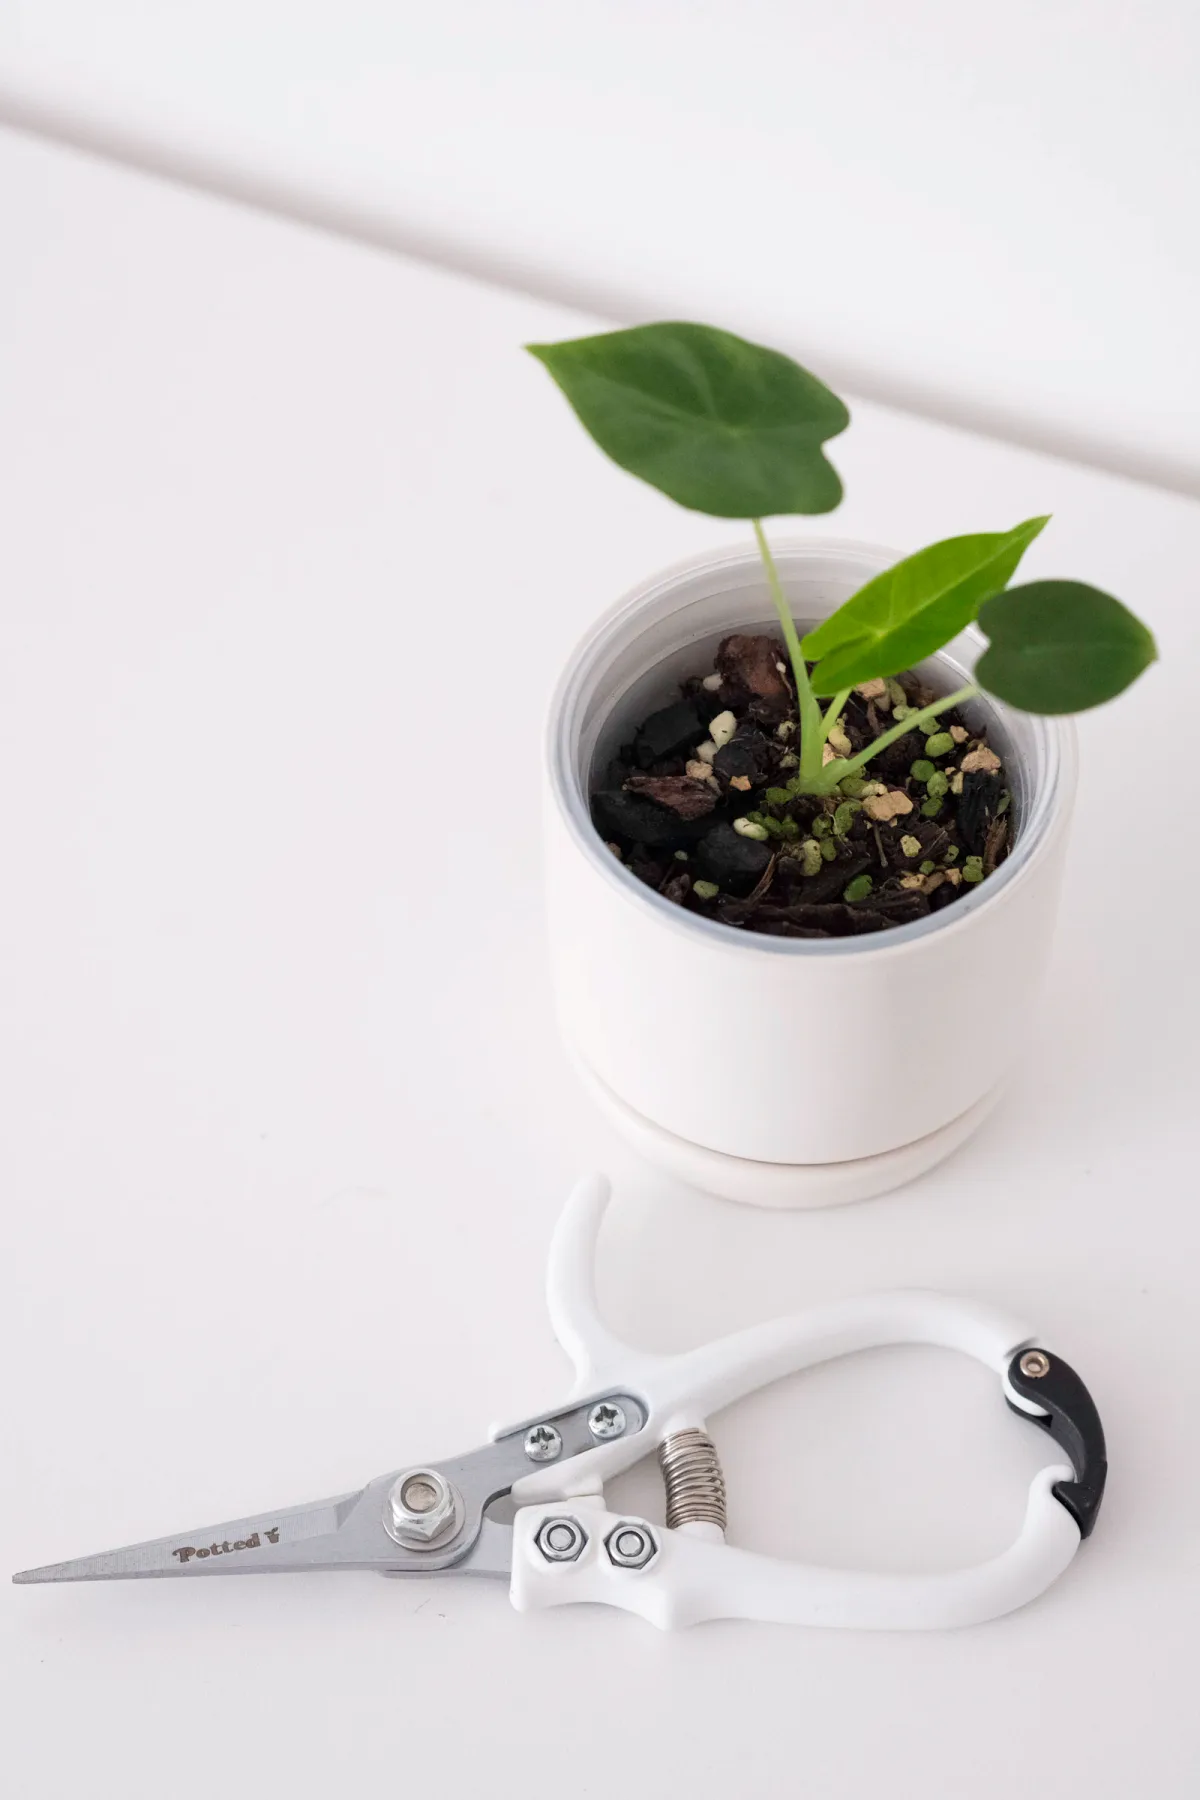
Use a sharp, well-maintained tool suited to the material. Small snips can handle delicate stems; they should not be forced through thick woody growth. A tool that requires excessive squeezing is difficult to control and may crush the stem instead of cutting it cleanly.
Remove visible dirt and plant residue before disinfecting a tool. The University of Minnesota guide to cleaning garden equipment distinguishes cleaning from disinfection. Follow an appropriate product’s instructions, including safety precautions and contact time, rather than mixing household chemicals or inventing a stronger solution.
Keep fingers away from the cutting path and place removed pieces directly into a tray or container. Some houseplants release irritating sap, so identify handling precautions for the species and use suitable gloves when needed. Keep children and pets out of the working area, and wash your hands afterward.
If you suspect disease, do not move directly through the whole collection with the same dirty blade. Work on healthy plants first, isolate questionable material and clean tools appropriately between plants. Pruning should not become a convenient way to distribute a problem around the room.
Time the work around growth and condition
Routine removal of clearly dead material is different from substantial pruning of living growth. For structural work, a period when the plant is healthy and actively growing is often more forgiving than a period of severe stress. Actual growth matters more than the month printed on a calendar.
Seasonal advice must fit your hemisphere and indoor conditions. A plant under suitable artificial lighting may behave differently from the same species on a dim winter windowsill. Observe its recent growth and read its care information instead of treating spring as a universal date that means the same thing everywhere.
Avoid stacking stressful jobs without a reason. Moving a plant, disturbing its roots, changing its medium and cutting back its canopy in one afternoon makes the response difficult to interpret. If an urgent health issue requires several actions, recognize that this is a recovery situation rather than an ordinary tidy-up.
Flowering plants add another question: does the plant flower on growth you are about to remove? Find the answer for that species before cutting back a specimen you want to bloom. A visually neat plant is not necessarily being managed for the flowering pattern its owner expects.
A cutting sequence you can actually follow
- Name the job. Write down whether you are removing dead tissue, shaping a vine or reducing a larger framework.
- Inspect before cutting. Look for pests, soft stems, root-related symptoms and growth points that must remain intact.
- Prepare the work area. Set out a clean tool, a waste container and any protection needed for sap or debris.
- Choose the first cut. Support the plant and remove the smallest useful amount.
- Step back. Check balance, remaining foliage and the shape from more than one angle.
- Stop deliberately. Finish when the stated purpose is met, rather than finding one more piece to remove indefinitely.
The stopping point matters. A plant does not need to look symmetrical from every possible viewpoint, and chasing perfect symmetry can turn modest maintenance into heavy pruning. Leave the plant looking like a living organism with room to develop, not an object that must match a drawing exactly.
Aftercare: observe the plant you have left
Return the plant to appropriate, stable growing conditions. Do not automatically give extra water or fertilizer as a reward for pruning. The remaining foliage and root environment determine its needs; a smaller canopy does not create an automatic demand for more inputs.
Watch new growth and the condition of the remaining stems. Photograph the plant again after a reasonable interval so that changes are visible. If a cut surface becomes soft, discoloration spreads or the plant declines, investigate the cause instead of repeatedly trimming farther into the plant without a plan.
Healthy cuttings from suitable species may be worth keeping. Follow the cutting propagation workshop and prepare them separately from discarded or diseased material. Not every removed leaf or stem is usable, and a propagation attempt should not distract you from caring for the parent.
Add the pruning date and purpose to your care routine. A short note about which stems were shortened helps you understand the response later. You do not need to create a complex maintenance calendar for one or two carefully chosen cuts.
Keep the reason for each cut visible
Before putting the tool away, separate the removed pieces into material that is clearly waste and healthy material suitable for a planned propagation attempt. Do not leave a mixed pile on the bench and decide later from appearance alone. A clean cutting taken from a healthy stem and a piece removed because of suspicious damage should not enter the same vase.
Look again at the parent from its ordinary viewing position. If the original problem was a vine blocking a walkway, check that specific space. If you were removing dead material, confirm that healthy leaves were not removed just to make the remaining plant look evenly trimmed. This final review connects the result to a real purpose rather than a vague impression of tidiness.
Finally, keep the before photograph with a short note about what you did. You may discover that one small adjustment was enough for several months. That is a useful outcome: a quiet period of observation can be better plant care than scheduling another haircut simply because a previous session felt productive.
Four questions at the potting bench
Will cutting a long vine make the bare base leafy again?
Not necessarily. The response depends on the plant and the condition of the remaining nodes. Old bare sections do not automatically refill with leaves. Improve unsuitable growing conditions and consider an appropriate propagation or retraining strategy rather than promising instant fullness.
Can I remove every yellow leaf at once?
Investigate why the leaves are yellow first. A few clearly dead leaves and widespread yellowing are different situations. Removing a large share of the canopy can reduce healthy functioning foliage and erase useful diagnostic clues. See yellowing leaves before treating pruning as the solution.
Should I coat every cut with a household remedy?
Do not apply an improvised mixture to plant wounds. Follow species-specific guidance and use commercial products only where their instructions support that use. Clean cutting technique and appropriate aftercare are more useful starting points than assuming every cut requires a coating.
How do I know I have pruned enough?
Return to the purpose you named at the start. If the dead material is removed or the troublesome vine now fits its support, stop. Further cutting should have a reason of its own. Reassess after the plant has had time to respond, instead of treating one session as a final permanent shape.
The next useful action
Choose one plant and identify its growth form before picking up the scissors. Make a photograph, name the specific job and locate the tissue you intend to leave. Careful pruning is less about how much you remove and more about understanding the living structure that remains afterward.
Read further
Sources & further reading
Selected horticultural references used to inform this guide. Local conditions and species-specific advice still matter.
- Pruning plants — Royal Horticultural Society
- Caring for Houseplants — University of Missouri Extension
- Clean and disinfect gardening tools and containers — University of Minnesota Extension
Prepared with AI assistance for Plantmorrow. No independent expert review or first-hand growing trial is claimed. Our editorial approach · Suggest a correction.