A houseplant pest is easier to manage when you can describe what is actually living on the plant. A yellow leaf, sticky shelf or tiny flying insect is a starting clue. It does not automatically identify the organism, explain every symptom or justify treating the entire collection. Begin with a close inspection, then choose a response that fits the pest, plant and indoor setting.
This field guide separates several common groups by what you can see and where to look. It is an identification aid rather than a substitute for examining a specimen. When a photograph or description remains uncertain, a local extension service can help you decide what information to collect before you buy a product.
Set up a small inspection station
Move the suspect plant away from touching foliage while you investigate. Give it suitable light and conditions in its temporary position; an isolation spot should not create a second care problem. Inspect plants that shared a shelf or recently arrived together. Record which ones show actual insects and which merely have old leaf damage.
A bright light, a magnifying lens and a sheet of plain paper make observations easier. Start with the whole plant, then look beneath leaves, along stems, inside leaf joints and around the container. Photograph a close view with an object for scale and a second view showing where the organism sits. Avoid crushing the only specimen before you have a useful record.
Keep the main question specific: is the object alive, a cast skin, residue or part of the plant? White mineral marks, harmless surface debris and natural plant structures can be mistaken for insects. If an object moves, describe how. If it stays fixed, inspect its shape and attachment rather than assuming that immobility rules out a pest.
Field card: mealybugs
Look for waxy bodies in sheltered places
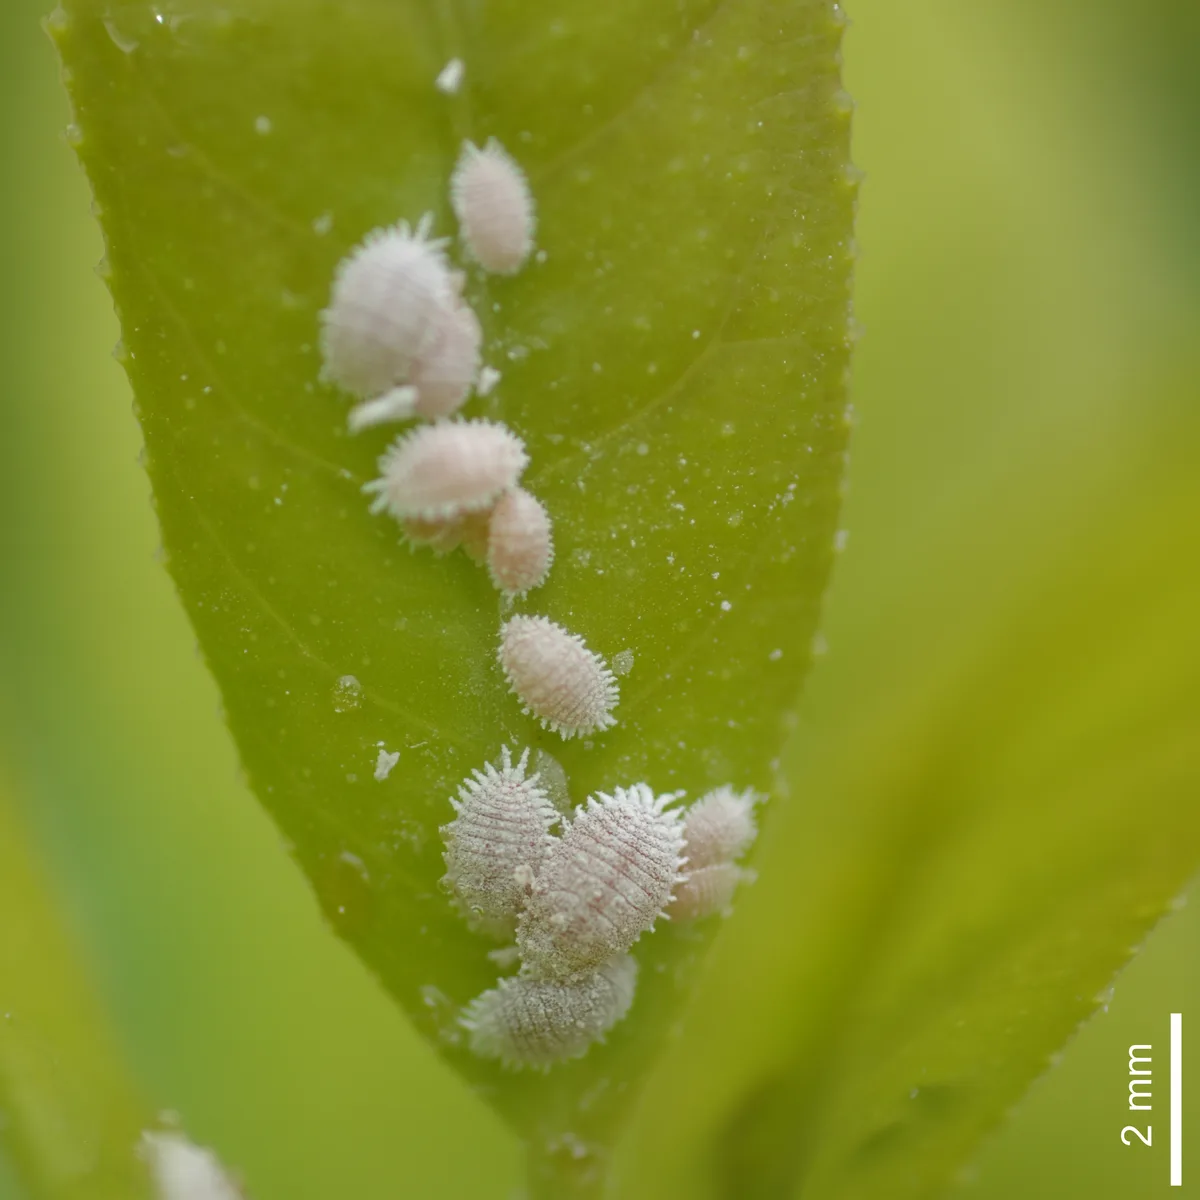
Mealybugs often attract attention as small white, cottony clusters around leaf joints and other protected areas. A close view can reveal the insect beneath its waxy covering. Search beyond the first obvious patch: crowded leaves and stem crevices can conceal additional individuals. The photograph above shows the kind of detail a close inspection can reveal.
Sticky residue may accompany an infestation, but white fluff alone is not enough for a confident identification. Compare several locations and check whether the material contains bodies. Do not assume every pale fleck on a variegated leaf is an insect. Save clear images before removing a small, accessible cluster.
For a limited problem, careful physical removal may be part of management when the plant tolerates handling. Avoid scraping tender tissue or flooding leaf joints with improvised mixtures. Continue inspecting protected areas after the visible insects are gone. A clean-looking upper leaf does not prove that the rest of the plant is clear.
Field card: scale insects
Look for attached bumps rather than obvious crawling insects
Scale can resemble small brown or pale bumps on leaves and stems. Its appearance makes it easy to overlook during a quick glance. Use magnification and examine several similar structures. Some plants naturally have corky marks or raised features, so identification needs more than noticing a bump.
Soft scale can produce honeydew, the sticky material that may collect beneath a plant. Other scale groups do not have that same sign. The University of Maryland's scale guide explains why the group matters and illustrates sheltered locations where insects can hide. Honeydew therefore supports an investigation; its absence does not exclude every type of scale.
Gentle physical removal of a few confirmed insects may reduce a small population. Avoid damaging stems while trying to make them perfectly clean. More extensive infestations need a realistic plan, and a badly affected plant may be better discarded. Keep it separate while deciding, rather than moving it between otherwise healthy plants.
Field card: aphids
Examine soft new growth and clustered insects
Aphids are small insects that can gather around tender growth. Look closely at shoot tips, buds and leaf undersides. Colour varies, so identifying them as simply green bugs can be misleading. A clear side view of the body is more useful than a distant image of a damaged leaf.
Distorted new growth and sticky material can prompt a search, but neither is exclusive to aphids. Check whether you can actually find the insects in the affected area. Also inspect neighbouring shoots that still look normal. Early evidence is often easier to interpret before leaves have curled tightly or several different problems overlap.
Where the plant is sturdy enough, washing or carefully removing a small population can be an appropriate first approach. Protect fragile growth and avoid letting a forceful stream scatter material across nearby plants. Afterwards, use a new inspection to assess the result. The old distorted leaf will not necessarily return to its original shape.
Field card: spider mites
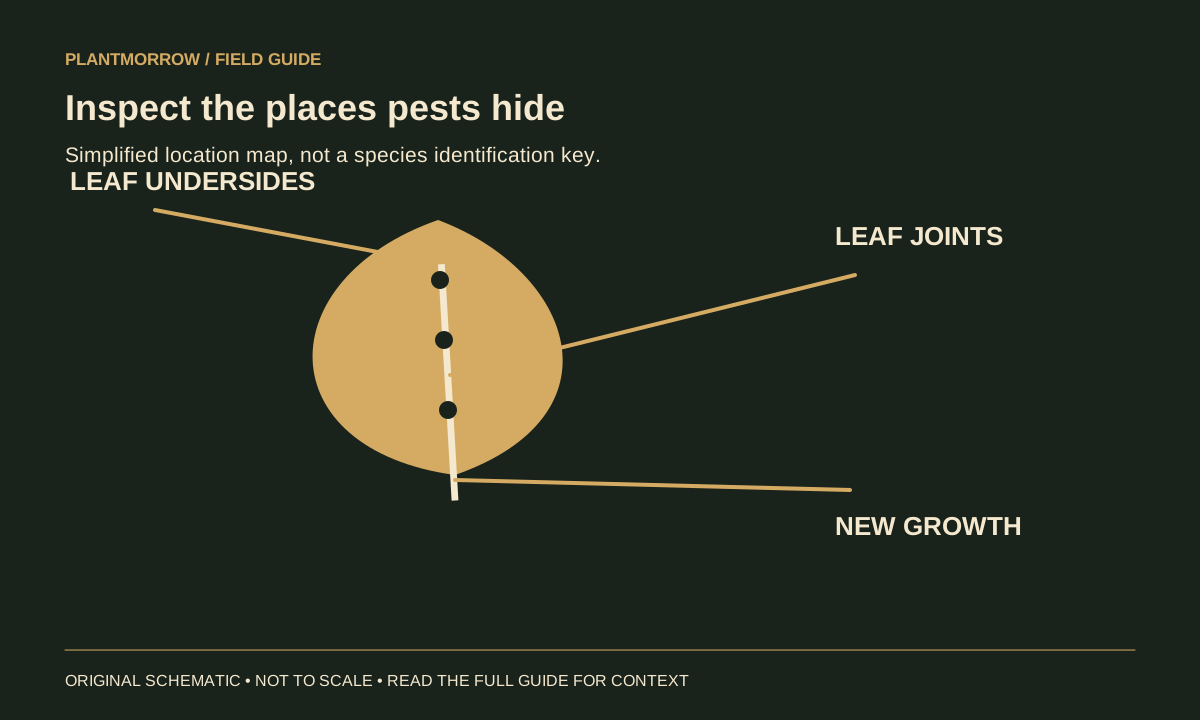
Look beneath stippled leaves
Spider mites are tiny and may require magnification to see clearly. Fine pale stippling, a dull appearance or delicate webbing can guide the inspection. Webbing alone needs interpretation: an ordinary spider can also live near a pot. Look for the mites and the distribution of feeding damage rather than identifying every strand as an infestation.
Inspect several leaves, especially their undersides, and compare affected foliage with newer or less exposed leaves. A picture of a whole plant may show the pattern while failing to reveal the organism. Take a close image if you can, or ask a diagnostic service how to submit a specimen safely.
Do not assume a product sold for insects will control mites or suit the particular plant. Identification affects the choice. Management also requires follow-up because a single cleaning or application may not address every life stage. Keep checking the actual plant instead of judging success from the absence of webbing on one photographed leaf.
Field card: whiteflies and thrips
Flying movement needs a closer second look
Small insects taking flight when foliage moves can suggest whiteflies, while slender insects and silvery-looking feeding marks may prompt a search for thrips. Those clues are reasons to inspect rather than definitive identifications. Several unrelated insects can appear as tiny moving dots in an unfocused phone video.
Look at leaf undersides and affected new growth. Note body shape, colour, movement and where the insects gather. A monitoring card can help reveal that flying insects are present, but a catch still needs identification. Keep a dated photograph of the card and the plant so you can connect observations without assuming every captured insect caused the leaf damage.
These groups are worth confirming before choosing management. Their habits differ, and a spray aimed only at an exposed adult may miss insects elsewhere on the plant. If repeated inspections are inconclusive, provide a close specimen image and the host plant's identity to a local adviser. Guessing from a generic internet picture can lead to repeated, unnecessary treatment.
Field card: fungus gnats
Inspect the potting environment as well as the flying adults
Small flies around the pot can lead you to investigate fungus gnats. Check whether activity is concentrated near the mix, and distinguish these insects from flies originating elsewhere in the home. The presence of a fly does not establish that a drooping leaf has been damaged by that insect.
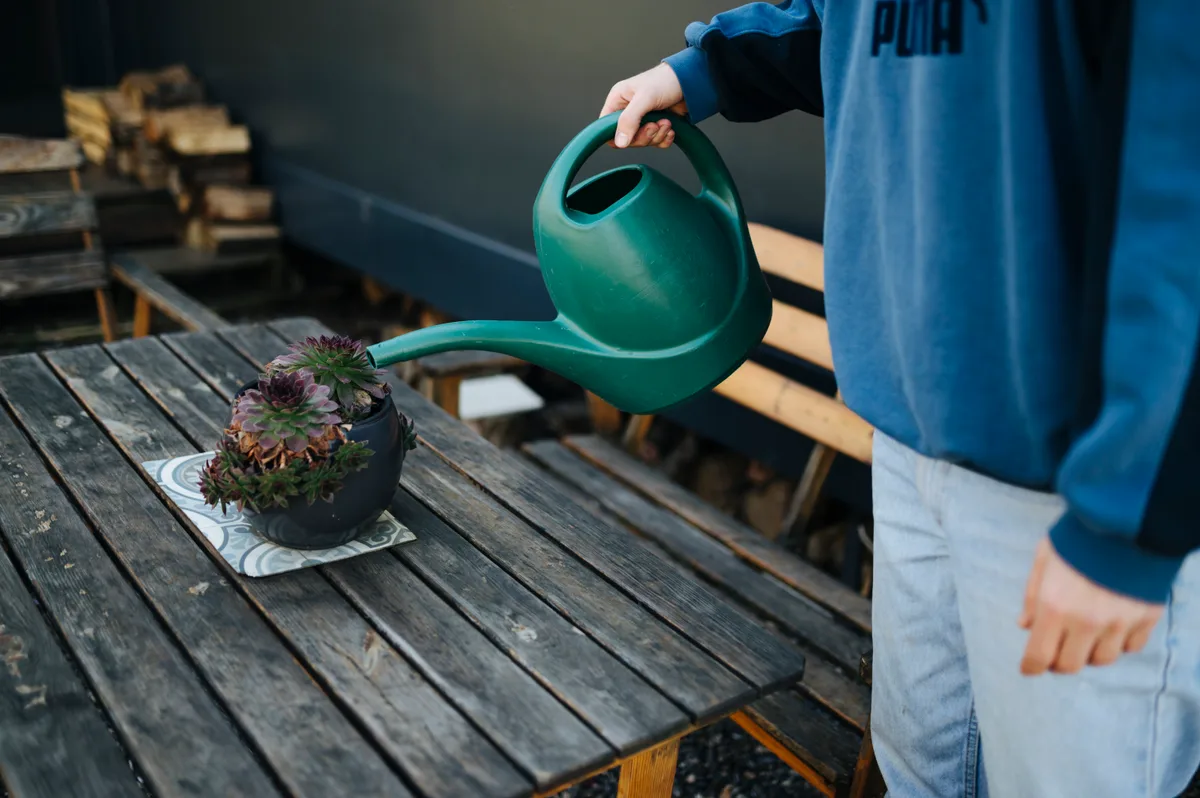
Review the watering and drainage arrangement. A persistently wet container deserves attention even when the plant has no obvious leaf symptoms. At the same time, do not force a moisture-loving plant into prolonged drought simply to discourage an insect. Correct care remains species specific. See the watering guide for a more useful approach to root-zone observations.
Monitoring adults helps track activity, but reducing the adult count alone does not necessarily resolve what is happening in the pot. Confirm the pest and seek advice about its relevant life stages. Avoid using household drain products, aerosols or other unrelated chemicals in a plant container.
Read the evidence before choosing the response
Suppose, hypothetically, that a plant has yellow leaves and a sticky shelf. A quick search might suggest aphids, mealybugs or soft scale. The useful next step is to find the organism. If inspection reveals attached scale beneath several leaves, the plan becomes more specific. If no insects are found, the yellowing still needs investigation through its own care history.
A second hypothetical plant has tiny flies above wet mix and a soft stem base. The flies and root problem may coexist, but catching flies would not repair damaged roots. Separate the observations and investigate each. The root rot guide explains why a damaged root system changes the recovery decision.
This distinction prevents a common mistake: selecting one visible pest as the explanation for everything. Plants can have insects, unsuitable light and an unevenly wet root ball at the same time. Write down what you observed directly and what you are still inferring. That short distinction makes outside advice far more useful.
Build a management plan you can check
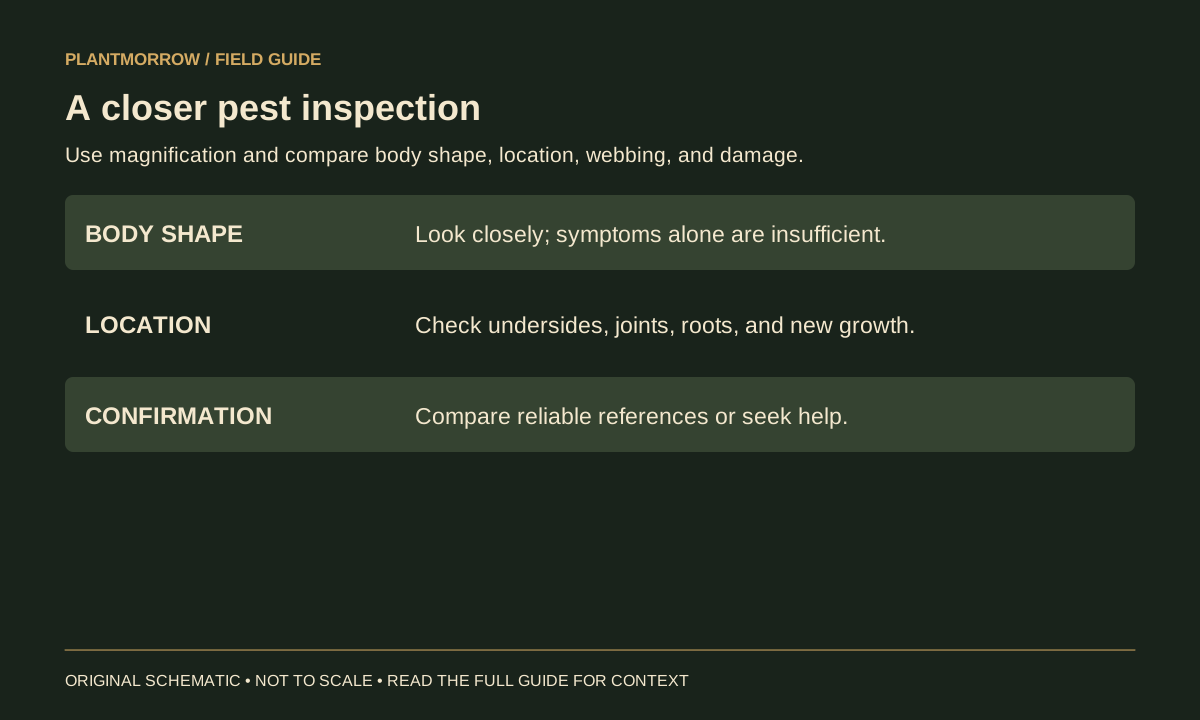
Use the least disruptive effective options suited to the identified problem. Physical removal, appropriate washing, sanitation and continued separation may help with a limited infestation. Fragile, hairy or otherwise sensitive foliage may need a different approach. Inspect a small area carefully rather than assuming that every plant tolerates the same handling.
If you consider a pesticide, confirm that its label covers the identified pest, the plant and the intended indoor use in your location. Follow application, ventilation, protective equipment, repeat-treatment and disposal directions exactly. Do not increase concentration, combine products or substitute household soap recipes. The EPA emphasizes following labels and using nonchemical approaches where appropriate.
Set a practical monitoring routine based on the pest and any product directions. Check the same plant areas and note live organisms, fresh damage and new growth separately. A damaged leaf remains a record of past injury. New sightings matter more than whether an old scar disappears. Continue appropriate plant care without overfeeding in an attempt to accelerate recovery.
Make the next inspection comparable
Choose a few repeatable places on the plant: one affected leaf underside, a sheltered stem joint and a shoot that currently looks sound. Photograph these areas and describe what you can see. On the next inspection, return to them as well as checking the rest of the plant. This makes a changing population easier to recognize than a series of unrelated close-ups.
Keep treatment effects separate from feeding damage. A mark appearing after a spray or rough cleaning needs a different investigation from insects continuing to feed. Record the date, product if any and affected location. Do not respond to every new mark by adding a second treatment before checking the plant's tolerance and the original plan.
When yellowing continues without confirmed pest activity, broaden the investigation. The yellow leaves notebook helps organize leaf age, root moisture and environmental changes. A pest-free leaf can still decline for cultural reasons. Conversely, improving watering does not remove insects that you can still find.
Finish each check with a decision: continue monitoring, repeat an action exactly as directed, or seek identification help. That decision should follow fresh evidence. Repeatedly buying different products without confirming the organism makes it harder to understand both the plant's symptoms and the results of your care.
Questions from the inspection bench
Do pests mean I cared for the plant badly?
No. Insects can arrive on a newly acquired plant or appear after a plant spends time outdoors. Suitable conditions and regular checks help, but they do not create a guarantee. Focus on the present evidence rather than treating an infestation as a verdict on your ability to grow plants.
Should I spray every plant nearby?
Inspect nearby plants and separate confirmed problems. A preventive treatment for every pot is not automatically justified, especially when the organism is unidentified. Any proposed pesticide use must fit the label and local guidance. Monitoring can reveal which plants actually need attention.
How will I know when isolation can end?
Use repeated inspections appropriate to the identified pest and treatment plan. One clean glance immediately after removal is weak evidence. If you are unsure how long to monitor, ask a local adviser about that pest's life cycle and your growing conditions rather than adopting one universal waiting period.
When is discarding a plant reasonable?
Consider the infestation's extent, the plant's condition and the effort required to protect the rest of the collection. A severely affected, declining plant may not be a practical recovery project. Contain it while moving it out, clean the area and inspect its neighbours. Replacing one plant can sometimes be the sensible gardening decision.
Read further
Sources & further reading
Selected horticultural references used to inform this guide. Local conditions and species-specific advice still matter.
- UC IPM: Houseplant Problems
- University of Maryland: Diagnose Indoor Plant Problems
- Iowa State: Diagnosing Houseplant Problems
Prepared with AI assistance for Plantmorrow. No independent expert review or first-hand growing trial is claimed. Our editorial approach · Suggest a correction.