Growing a new plant from a cutting begins with choosing a piece that can actually produce a new plant. For many familiar vining houseplants, that means taking a healthy section of stem with a node, rather than putting an attractive leaf into water and hoping. The right method depends on the species: stem cuttings, leaf cuttings and division are different techniques, not interchangeable shortcuts.
This workshop focuses on ordinary, non-woody stem cuttings from suitable houseplants such as pothos, heartleaf philodendron and coleus. It gives you a small, repeatable experiment rather than a promise that every cutting will root. Identify your plant first, check whether propagation is permitted for a protected cultivar, and keep unfamiliar foliage and cut surfaces away from children and pets.
Set up a modest first experiment
Choose one healthy parent plant and prepare two or three cuttings. That is enough to compare progress without filling a windowsill with containers that are difficult to monitor. Avoid taking material from a plant with spreading spots, active insects, soft stems or severe wilting. Propagation does not automatically remove whatever is affecting the parent.
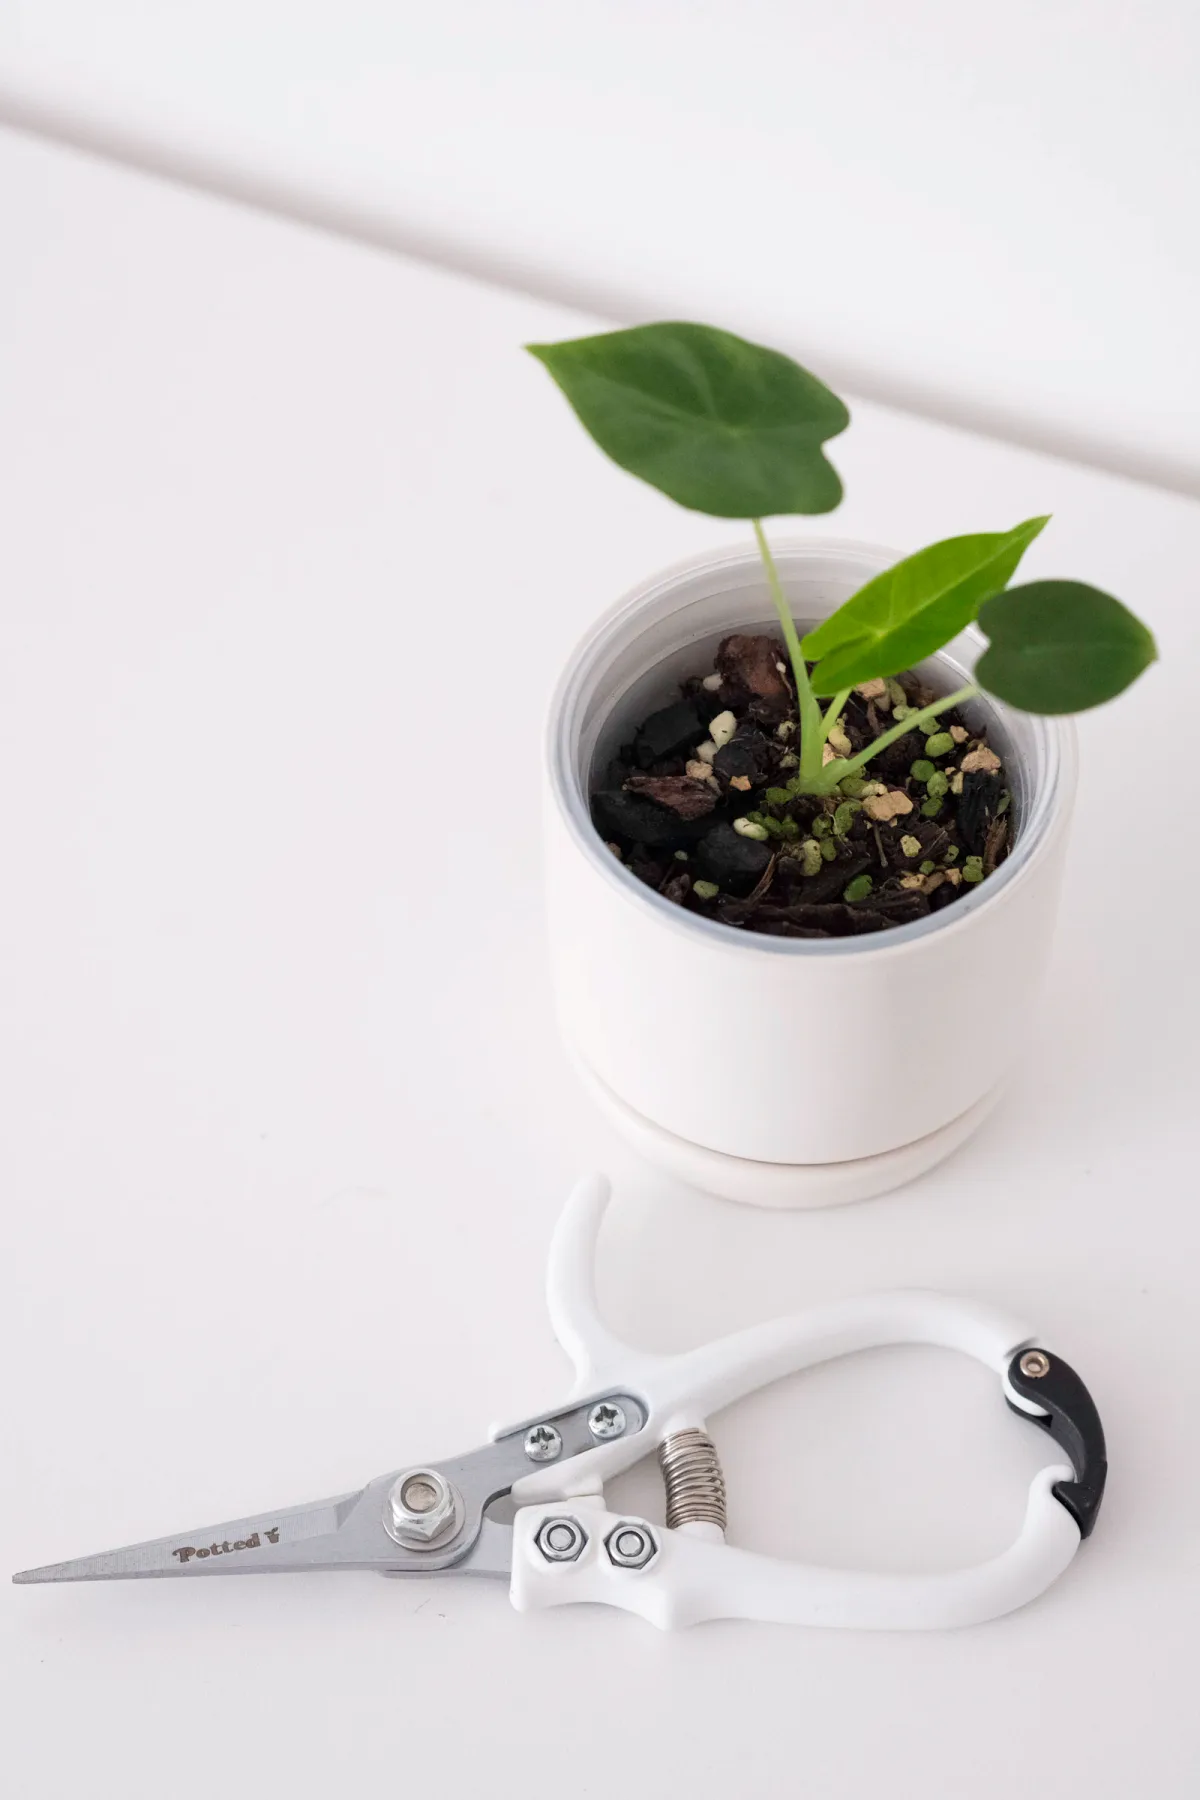
Have a clean cutting tool, a stable rooting container, labels and either clean water or a suitable propagation medium ready before you cut. A potting tray or washable work surface makes cleanup easier. Protect furniture from moisture, and give the finished cuttings a position with suitable light that you can inspect conveniently.
The University of Missouri propagation guide distinguishes several cutting types and explains why the material you take matters. Use its plant-specific information as a starting point, rather than assuming every plant follows the same method. A fern, a clumping houseplant and a trailing vine may need completely different approaches.
Do not start by buying every available accessory. A simple setup is easier to interpret: if one experiment changes the water, medium, light and hormone treatment at once, you will not know what made the difference. Label the species and date, then change as little as possible while roots develop.
Find the node before making the cut
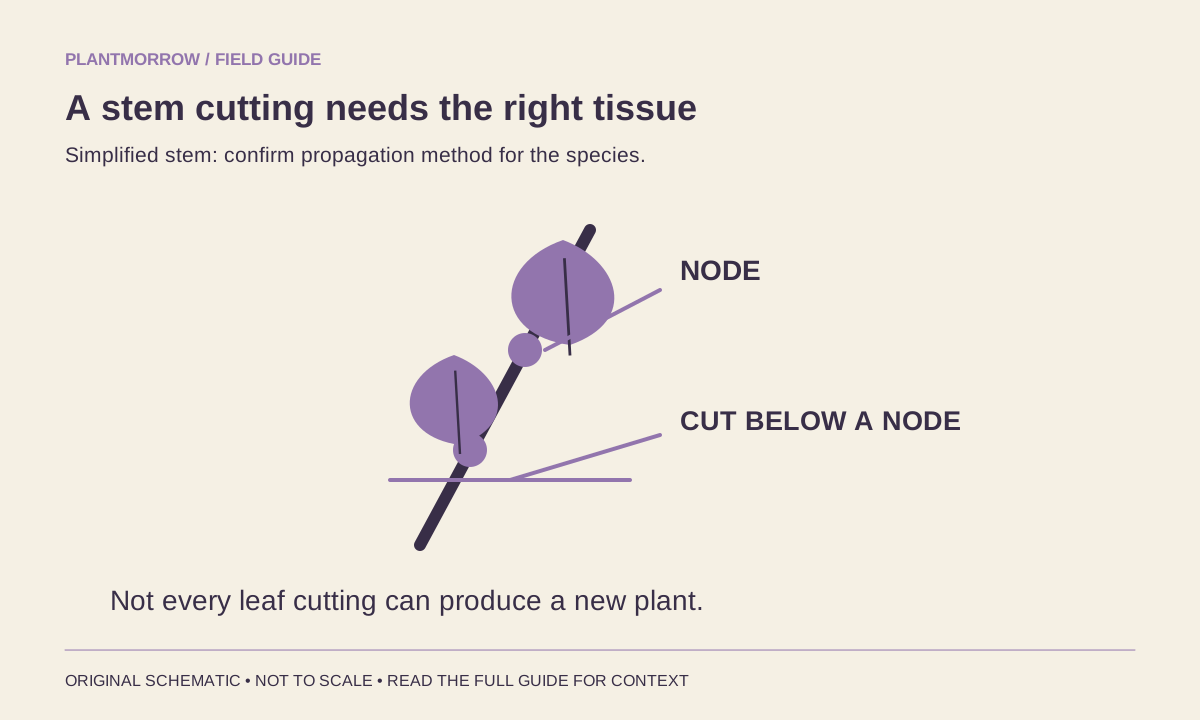
A node is the part of a stem where a leaf or bud joins it. On a vine, look for the leaf attachment and nearby growth structures; do not confuse a long leaf stalk with a length of stem. A pothos leaf with only its stalk does not provide the same growing material as a stem section containing a node.
Trace the stem with your eyes before using the tool. Decide which leaves will stay above the water or medium and which lower leaves must be removed. Keep enough healthy foliage to support the cutting, but avoid an unnecessarily long, heavy piece that tips its container over or loses water faster than it can replace it.
For a simple first cutting, take a short manageable stem section with the nodes required by that species. Make a clean cut without crushing the stem. Support the parent with one hand while cutting with the other; pulling a stem apart can injure both the cutting and the plant you intended to keep.
Plant anatomy creates important exceptions. Some plants can regenerate from a leaf under appropriate conditions, while others cannot. Nevada Extension’s propagation overview describes the main methods. If your plant is not a familiar stem-cutting candidate, pause and identify the correct technique instead of improvising from a photograph.
Choose water or a rooting medium deliberately
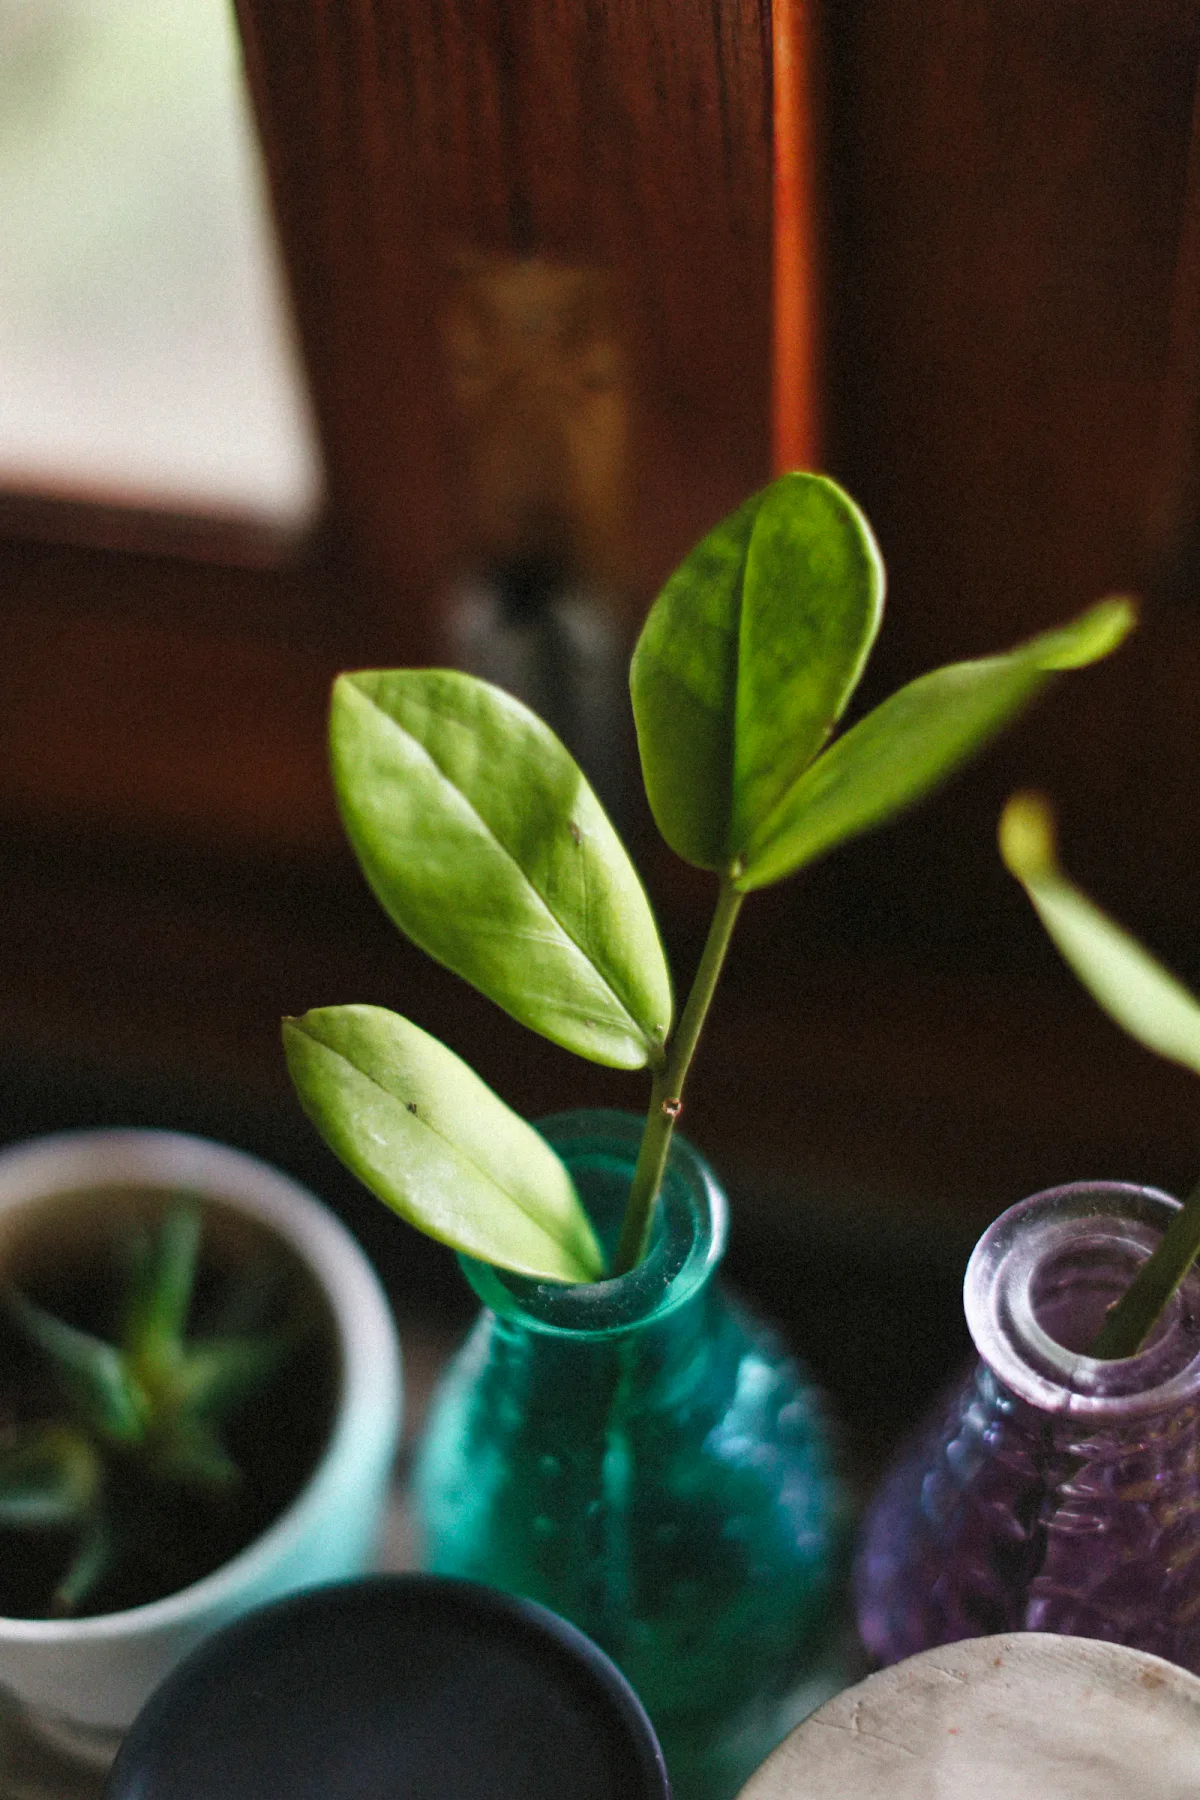
Water propagation makes developing roots easy to see. It can be a useful introduction for species that root readily in water, and a transparent container helps you notice cloudiness or decay. Its main practical disadvantage is the later transition into a potting medium: a cutting that looks established in a vase still needs to adjust to different root conditions.
A propagation medium lets suitable cuttings develop roots in a more pot-like environment from the beginning. It should support the stem while balancing moisture and air. An ordinary heavy scoop of garden soil is a poor substitute for a clean, appropriate rooting medium, particularly in a tiny container that is easily kept too wet.
Choose the method you can monitor reliably. If you tend to forget small pots, an opaque medium may hide a drying problem until leaves wilt. If you frequently disturb visible roots, a clear water container may tempt you to handle them too often. The method should fit the plant and your habits, not just the style of a propagation shelf.
Rooting hormone is an option for particular plants and materials, not an automatic requirement. If you use a commercial product, follow its label and keep it away from food preparation areas. Do not invent a mixture of household products or assume that more hormone produces better roots.
Prepare and place the cutting
Remove leaves that would sit below the waterline or within the medium. Keep the remaining leaf surfaces out of standing water, and do not bury the whole cutting simply to make it look secure. In water, position the relevant node or lower rooting area as appropriate for the species while keeping foliage above the surface.
In a medium, make a planting opening first rather than forcing a delicate stem through a dense surface. Insert the cutting, then settle the material gently around it. The cutting needs support, but squeezing the medium hard can reduce the air spaces that help make it suitable for propagation.
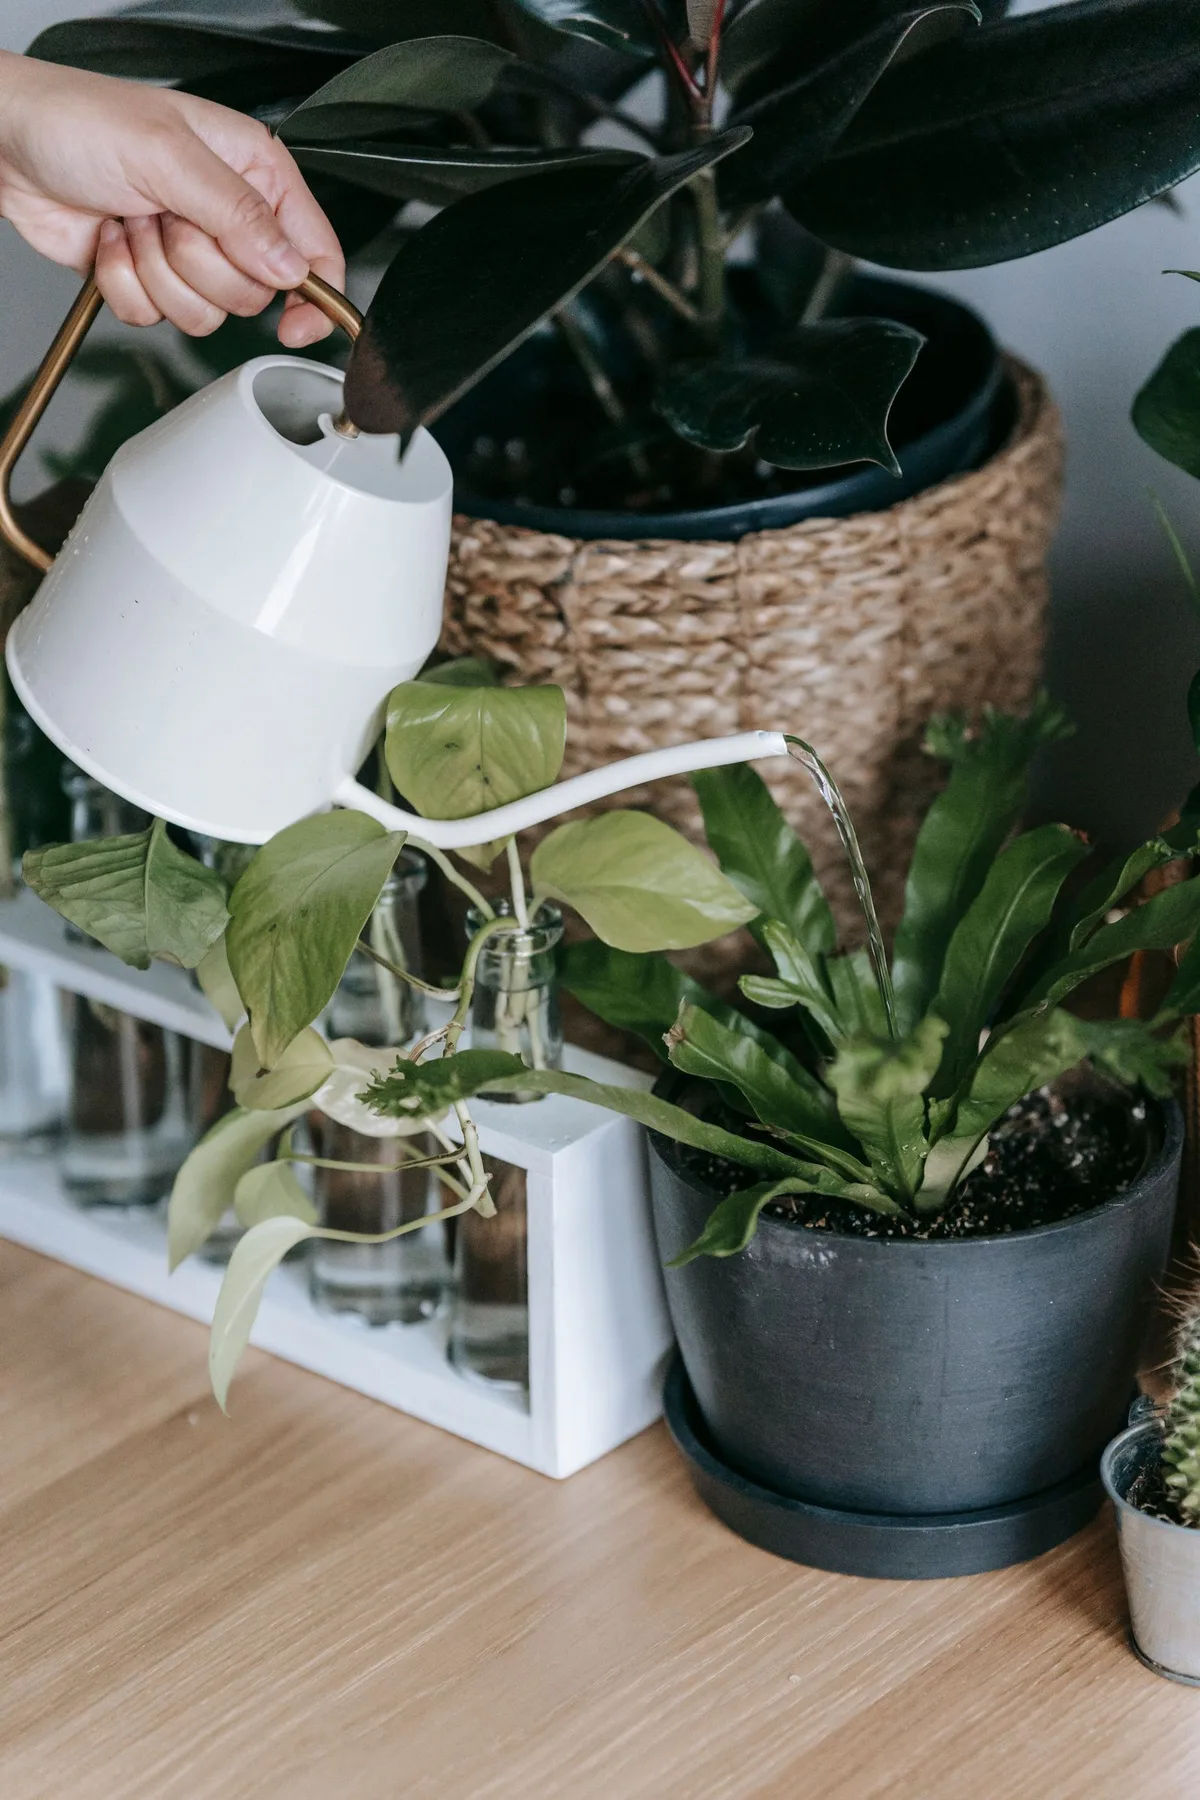
Water or moisten the setup appropriately, and let excess water escape from pots with drainage holes. A saucer is there to catch drainage, not to hold the pot permanently submerged. Write the date and plant name on the label now; two similar-looking cuttings become surprisingly difficult to distinguish several weeks later.
For a hypothetical first experiment, you might place one suitable vine cutting in water and another in a small pot of propagation medium. Keep both in a comparable location and record the methods separately. This comparison is a learning exercise, not a controlled scientific trial or evidence that one approach always outperforms the other.
Give the cutting stability, light and attention
An unrooted cutting cannot use water the way an established plant can. Place it in suitable bright, indirect light for the species, away from intense heat that quickly dries foliage or overheats a small container. A sunny ledge that suits the parent may be too harsh for fresh cuttings.
Some propagation methods benefit from a humidity cover, but a sealed wet environment also needs sensible monitoring and ventilation. Keep a cover from pressing against leaves, and watch for persistent condensation, soft tissue or mold. Do not leave a covered cutting in direct sun, where its enclosed environment can become excessively hot.
Check the setup regularly without pulling the cutting out to look for roots. For water propagation, maintain the appropriate water level and refresh the water when needed, especially if it becomes cloudy. Clean the container when buildup makes observation difficult. For a rooting medium, check moisture thoughtfully rather than adding a little water every time you pass.
Keep your ordinary plant care routine separate from propagation care. A mature plant and an unrooted cutting do not necessarily need the same treatment. Record what you see instead of using the parent’s watering interval as a rule for its smaller offspring.
Recognize progress without demanding a deadline
Rooting speed varies with species, cutting maturity, season and the conditions you provide. A universal promise such as roots in seven days makes an unreliable benchmark. Look for a trend: firm stem tissue, reasonably stable foliage, visible root development where you can see it, and eventual signs that the cutting is establishing.
New leaves alone do not prove that a substantial root system has formed. A cutting may use stored resources before it is securely rooted. Likewise, a temporary pause does not always mean failure. Avoid repeated disturbance simply because another person’s photograph shows faster progress.
If a cutting turns soft, develops an unpleasant smell or collapses at the base, remove it from the group and inspect the setup. Decaying material should not remain against healthy cuttings. Review moisture, cleanliness and suitability of the method before starting again; adding fertilizer is not a reliable response to an unrooted cutting in trouble.
Keep notes simple: date prepared, method, location and major observations. A photograph taken from the same angle can help you notice change without measuring every root. Your record is useful because it describes your own conditions, not because it proves a universal rule for every home.
Move a rooted cutting into its first pot
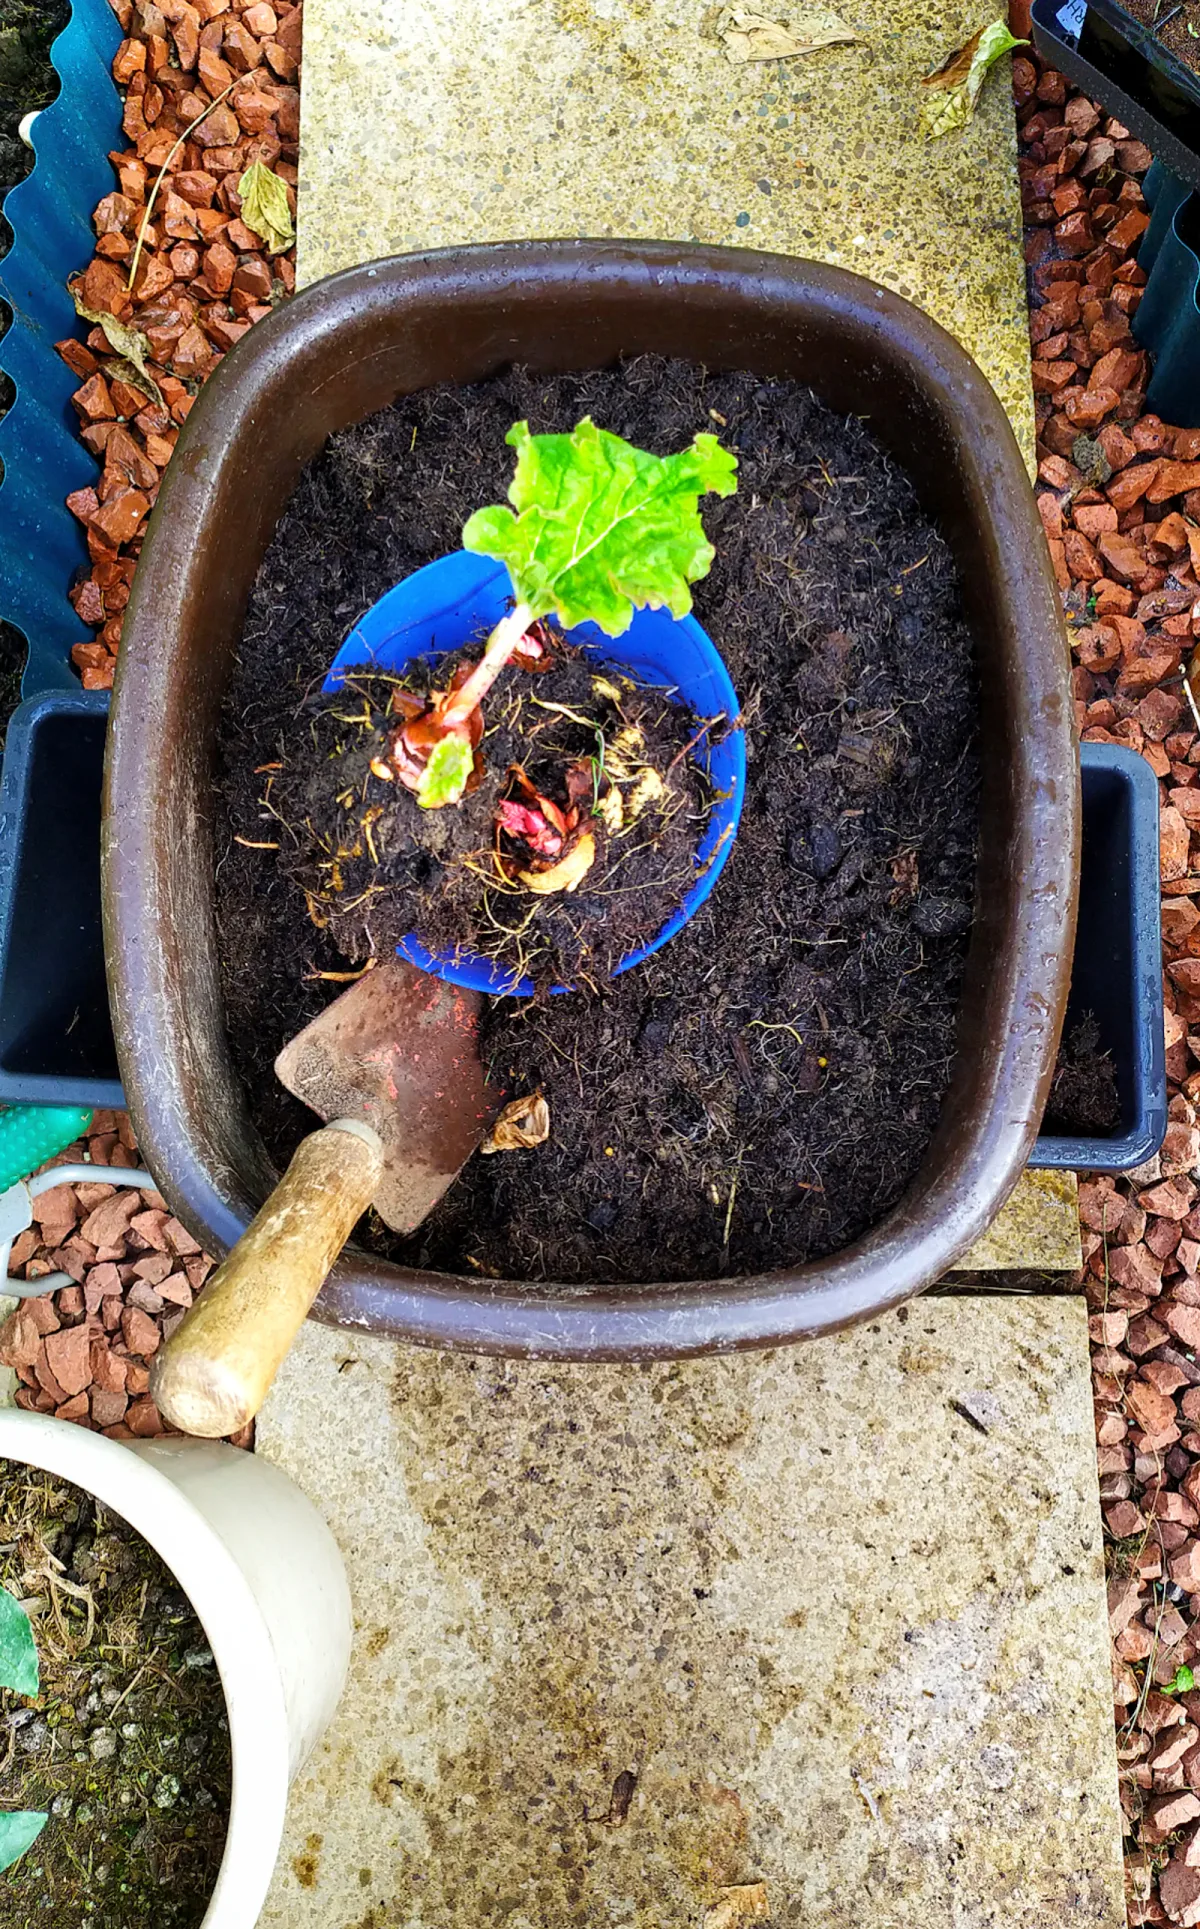
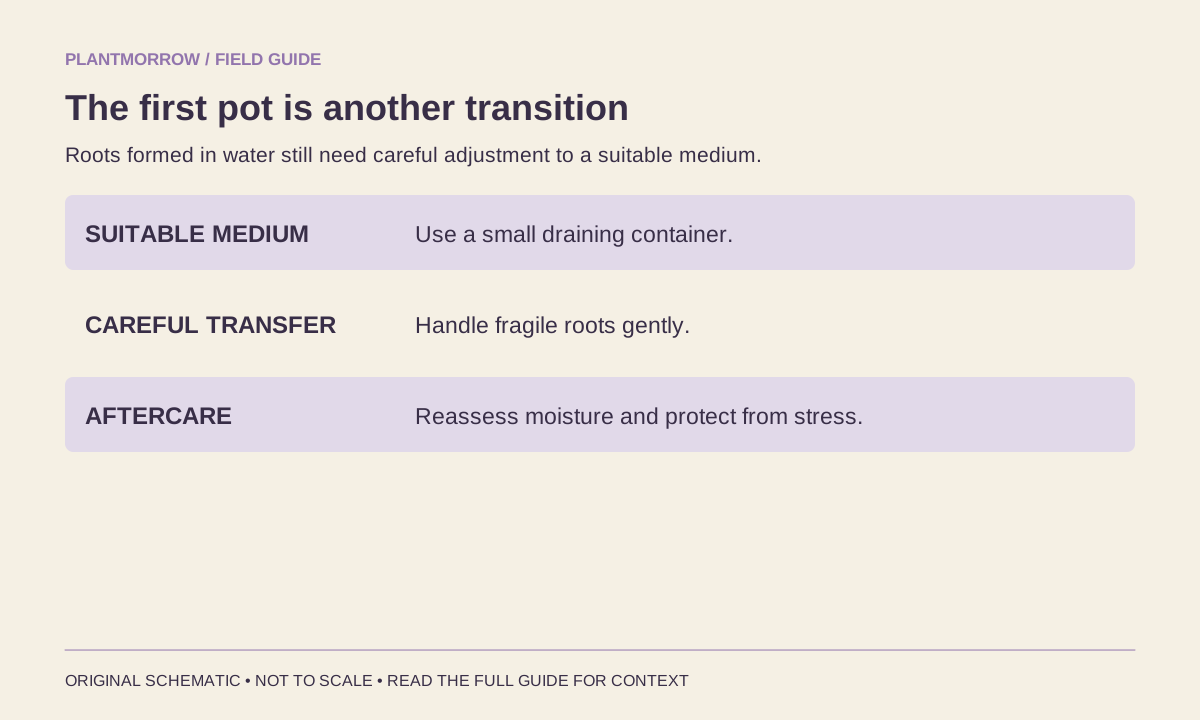
Transfer a water-rooted cutting when it has a workable developing root system for the plant, rather than waiting for a tightly tangled mass that becomes difficult to position. Prepare a small, draining pot and a suitable medium before lifting the cutting. Handle the stem gently, and avoid rubbing or scraping delicate roots.
Set the roots into the prepared opening, keeping the stem at a sensible planting depth. Add medium around them without leaving a large hollow beneath the plant, then water appropriately to settle the mix. Do not jump straight to a large decorative container: a small root system surrounded by a large wet volume is harder to manage.
For cuttings already rooted in a propagation pot, move them when establishment and available space justify it. Roots emerging through holes, stable growth and the condition of the medium offer better information than a fixed date. Read the repotting guide before making a larger change.
Keep the new plant in stable, appropriate conditions while it adjusts. Avoid combining its first potting with strong sun, major pruning and immediate heavy feeding. The goal is a manageable transition, not the fastest possible jump to a mature-looking specimen. The potting-mix comparison explains how to choose its next growing medium.
Avoid the mistakes that obscure the lesson
- Starting with unidentified material: a correct method for one plant can be ineffective for another.
- Submerging leaves: wet foliage and decaying lower leaves make monitoring harder and can spoil the setup.
- Using an oversized container: extra volume creates more moisture to manage around a very small cutting.
- Checking roots by pulling: repeated disturbance can damage exactly what you are waiting to develop.
- Treating fertilizer as encouragement: nutrients do not replace appropriate propagation conditions.
- Changing everything after one quiet week: you lose the chance to understand which condition mattered.
If the experiment fails, photograph the failed material and review the sequence once. Identify one plausible improvement for the next attempt, such as cleaner material or a more stable moisture level. Throwing away an unsuccessful cutting can be the appropriate choice; there is no obligation to rescue deteriorating tissue at any cost.
Questions before the next cutting
Can every houseplant grow from a leaf?
No. Some plants can be propagated from a leaf or part of one, but many common vines require a piece of stem containing a node. Confirm the species and the appropriate propagation method before removing material. A rooted leaf is not automatically a complete new plant.
Should I keep adding fertilizer to the water?
Do not use fertilizer as a default rooting treatment. Your first priorities are suitable material, an appropriate method and clean, stable conditions. Established plants and unrooted cuttings are different situations; any specialized propagation product should be used according to its instructions.
Why did one cutting succeed and another fail?
Cuttings can differ in health, age, damage and position on the parent even when they look similar. Small environmental differences matter too. Compare your notes without treating one pair of cuttings as proof of a general rule. Start the next attempt with a specific, modest change.
When can the new plant join the rest of my collection?
Wait until it is stable in its pot and continue checking it for insects or disease symptoms. Keep new or questionable material separate while you observe it. Once established, manage it according to its species and environment rather than preserving its propagation routine indefinitely.
Your next small experiment
Identify one suitable parent plant, choose one propagation method and prepare a labeled cutting. Give it a stable place and a short observation record. Success is a healthy, established plant; useful learning includes recognizing when the method, material or conditions need to change before you take another piece.
Read further
Sources & further reading
Selected horticultural references used to inform this guide. Local conditions and species-specific advice still matter.
- Home Propagation of Houseplants — University of Missouri Extension
- Propagating Houseplants — Penn State Extension
- Propagating Houseplants — University of Nevada, Reno
Prepared with AI assistance for Plantmorrow. No independent expert review or first-hand growing trial is claimed. Our editorial approach · Suggest a correction.